


Last Updated: October 28, 2026
Quick Summary
To hang nursery signs, first choose a clear wall spot visible from the doorway or changing table, away from the crib. Lay the letters out on the floor, mark a level layout on the wall, then hang them on hardware or adhesive strips rated for their weight.
- Keep hanging signs out of the sleep zone and away from the crib rail.
- Lay the letters out on the floor before marking anything on the wall.
- Check every letter with a level before moving on to the next one.
- Use adhesive strips only for lightweight pieces on smooth, clean, fully cured walls.
- Remove adhesive strips slowly and parallel to the wall to avoid pulling off paint.
Table of Contents
- Where to Place a Nursery Name Sign
- Choosing Safe Placement Above the Crib
- How to Hang Wooden Letters on a Wall
- How to Hang a Sign Without Nails
- How to Hang Nursery Wall Art Alongside Your Sign
- Common Mistakes When Hanging Nursery Signs
- Booking Your Custom Name Sign for Your Nursery
- Frequently Asked Questions
Hanging a nursery sign looks simple until the first attempt leaves a crooked letter or a hole in the wrong place. This guide walks you through how to hang nursery signs, from choosing a spot to finishing the job. Whether you are mounting a single name or a row of wooden letters, the steps are the same.
Where to Place a Nursery Name Sign
Think about how the sign will be seen before you pick a spot. Most parents place a name sign where it is visible from the doorway or the changing table, at a comfortable eye level for adults.
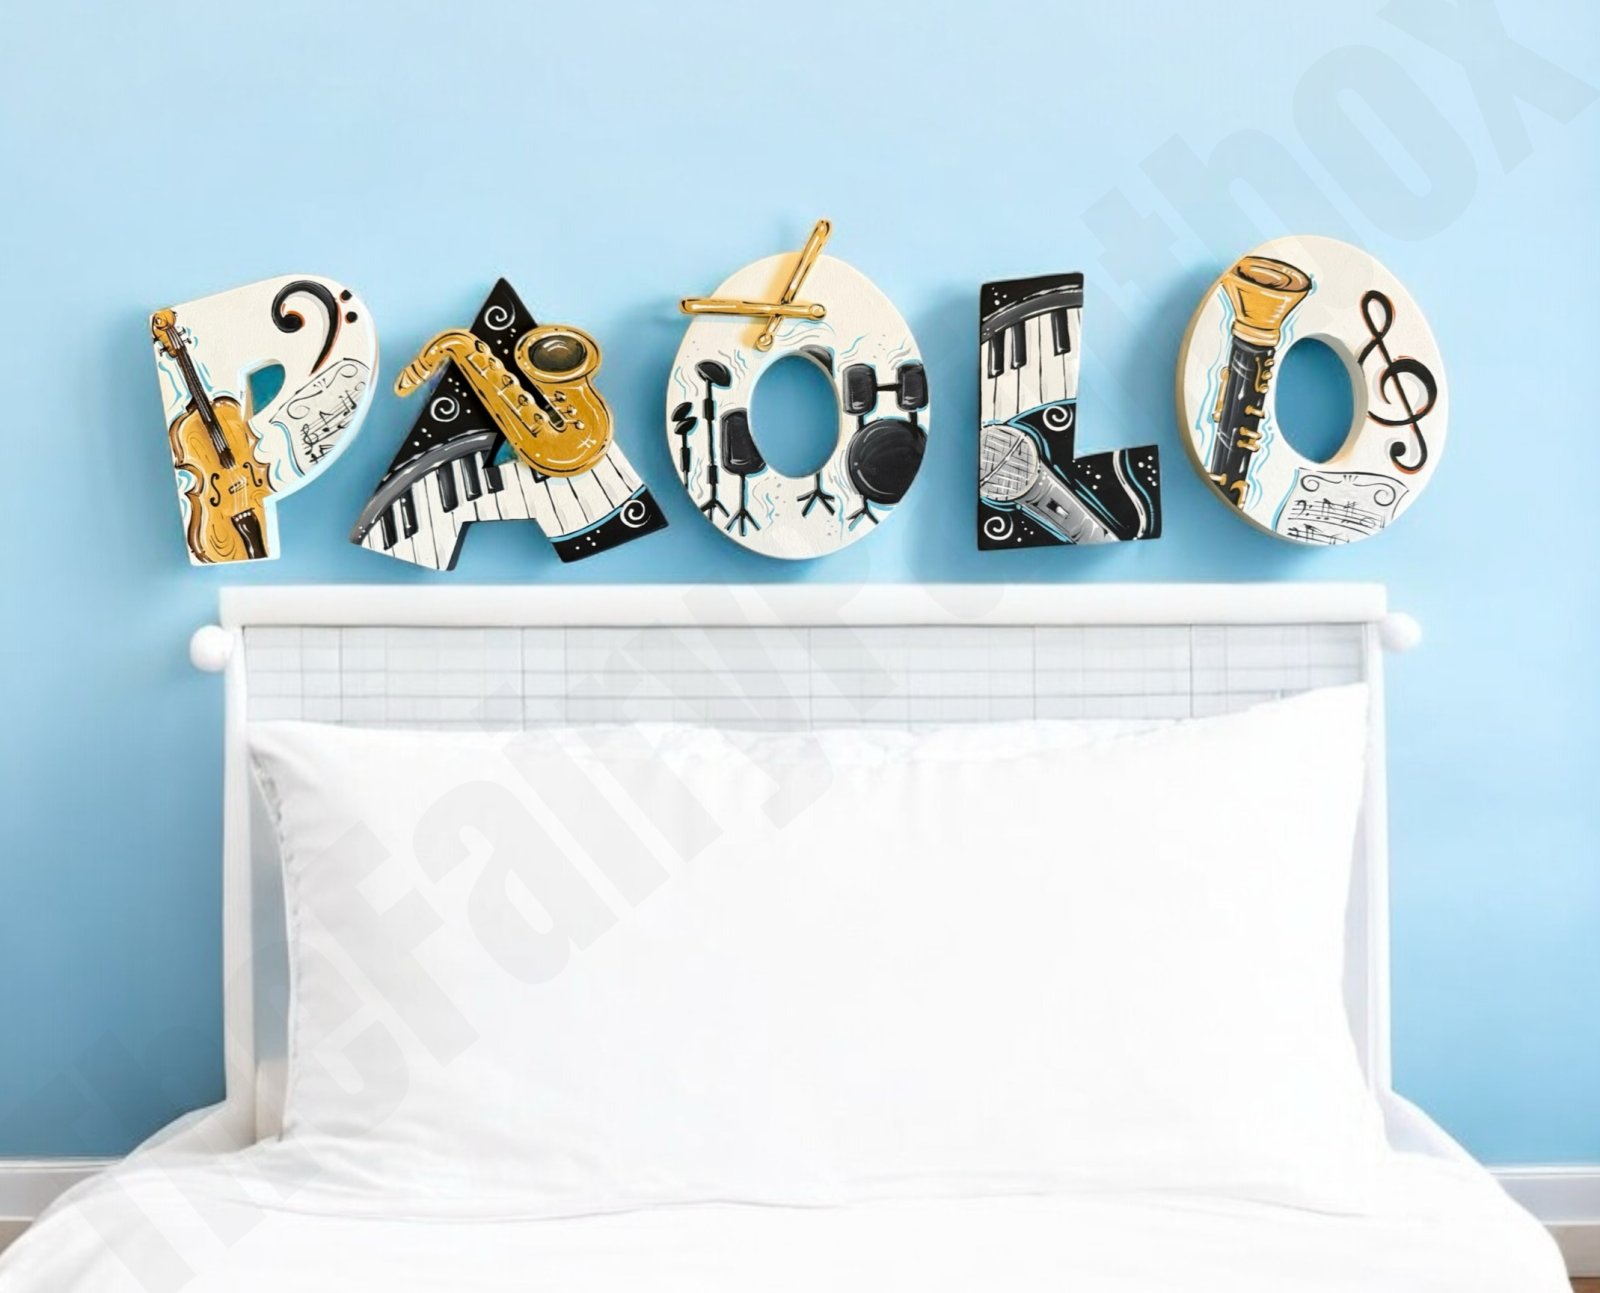
A good spot usually has:
- Clear wall space with no outlets, switches or light fixtures in the way
- Enough distance from the crib to keep it out of the sleep zone
- A solid wall surface you can drill into or attach to securely
Lay the sign or letters on the floor first and arrange them. This shows you the full width before anything touches the wall.
Choosing Safe Placement Above the Crib
This is the one section where most nursery sign guides stop at "don't hang it over the crib" and move on. That advice is correct, but it is incomplete. A safe placement decision depends on what the sign is made of, how it is attached, and what is directly below it, not just whether it is technically above the crib.
Why the Sleep Zone Is Different
A crib is a sleep space, and sleep spaces have different risk rules than the rest of the room. A baby cannot roll away from a falling object, cannot push a heavy frame off the wall, and spends hours in the same spot every night. That is why the standard guidance from safe-sleep organizations is to keep the crib area clear of loose bedding, bumpers, and hanging objects. A nursery sign is a hanging object, so the same logic applies.
A Practical Safe-Placement Checklist
Use this before you commit to a spot:
- Check what is directly below. If the floor beneath the sign is a crib, changing pad, glider, or play mat, treat that wall as off-limits for anything heavy.
- Check the wall type. Drywall with hollow anchors, plaster on lath, and brick all behave differently under load. A sign that is secure on brick may pull out of drywall.
- Check the attachment. Adhesive strips are for lightweight pieces only. Anything with real weight needs a fastener that goes into a stud or a proper anchor.
- Check the distance. Keep hanging decor at least a few feet away from the crib rail so a fall cannot reach the sleep surface. The exact distance depends on the piece, but the principle is simple: out of reach, not just out of the way.
- Check the piece itself. Our star set, for example, is not recommended for hanging over or near a baby crib.
When to Skip the Wall Entirely
If the only open wall space in the nursery is above the crib, do not force a sign onto it. Better options:
- Hang the sign on the wall opposite the crib, where it is visible from the door.
- Use a shelf or a dresser-top display instead of a wall mount.
- Choose a fabric or flat banner that has no rigid parts and no fall hazard.
A name sign is a nice touch, but it is not worth a risk you cannot undo. Place it where it can be seen and enjoyed without sitting in the sleep zone.
How to Hang Wooden Letters on a Wall
Work slowly and check each letter as you go.
Preparing the Wall and Marking Placement
Then mark your layout:
- Measure the wall space and mark the center point with light pencil.
- Set the letters out in order, leaving even gaps between them.
- Mark the top hanging point of each letter on the wall.
- Check that the marks form a straight line with a level.
Take your time here. Small errors in marking show up clearly once the letters are up.
Hanging Clouds Nursery Decor Monogram Sign Letters →
Attaching Cord and Leveling the Sign
Many wooden letters come with a cord or hanging hardware on the back. Hang the letter on the wall hook or nail at your marked point.
Use a level on each letter. Step back and check the whole row from across the room before you move on.
How to Hang a Sign Without Nails
Adhesive strips are the go-to damage-free option, but they are not a universal substitute for nails. They work well within a narrow set of conditions and fail predictably outside them. This section covers how to choose the right strip, prepare the surface, cure the bond, and remove the sign later without pulling paint.
When Adhesive Strips Are the Right Choice
Adhesive strips are a good fit when:
- The sign is lightweight, a single wooden letter or a small flat plaque, not a framed piece or a heavy monogram.
- The wall is smooth, painted, and fully cured. Fresh paint needs time to cure before any adhesive goes on it.
- The surface is clean and dry, with no texture, wallpaper, or loose paint.
- You are renting or otherwise want a removable mount.
They are the wrong choice for brick, rough plaster, textured wallpaper, or anything heavier than the strip is rated for. When in doubt, weigh the piece and compare it to the strip's stated limit, and leave a margin rather than maxing it out.
Step-by-Step Adhesive Installation
- Clean the wall. Wipe the spot with rubbing alcohol and let it dry completely. Dust and kitchen grease are the two most common reasons strips fail.
- Clean the back of the sign. The same prep applies to the piece itself, a dusty back will not bond.
- Press the strip to the sign first. Firm pressure for several seconds helps the adhesive grip the piece before it ever touches the wall.
- Position and press. Hold the sign against the wall and press firmly for the full time the strip manufacturer recommends. Do not skip this wait, the bond is still forming.
- Let it cure before loading. Give the adhesive time to set before you hang anything from it or add weight. A common pattern is to wait at least an hour before trusting the mount, and longer for heavier pieces.
Removal Without Damage
Adhesive strips are designed to come off cleanly if you remove them correctly:
- Do not pull the sign off the wall. That is how paint comes with it.
- Follow the strip's removal direction, most are designed to stretch slowly parallel to the wall, not away from it.
- Use a slow, steady pull rather than a yank.
- If the strip resists, warm it slightly with a hair dryer on low to soften the adhesive, then try again.
Damage-Free Alternatives Worth Knowing
If adhesive strips are not right for your wall or your sign, a few other low-damage options exist:
- Removable hooks rated for the weight of the piece, used the same way as strips.
- Over-the-door or rail hooks for signs that can hang from a molding or rail rather than the wall itself.
- Leaning display on a shelf or dresser, which needs no wall attachment at all.
Whichever you choose, check the weight rating, prepare the surface, and give the mount time to set before you trust it.
How to Hang Nursery Wall Art Alongside Your Sign
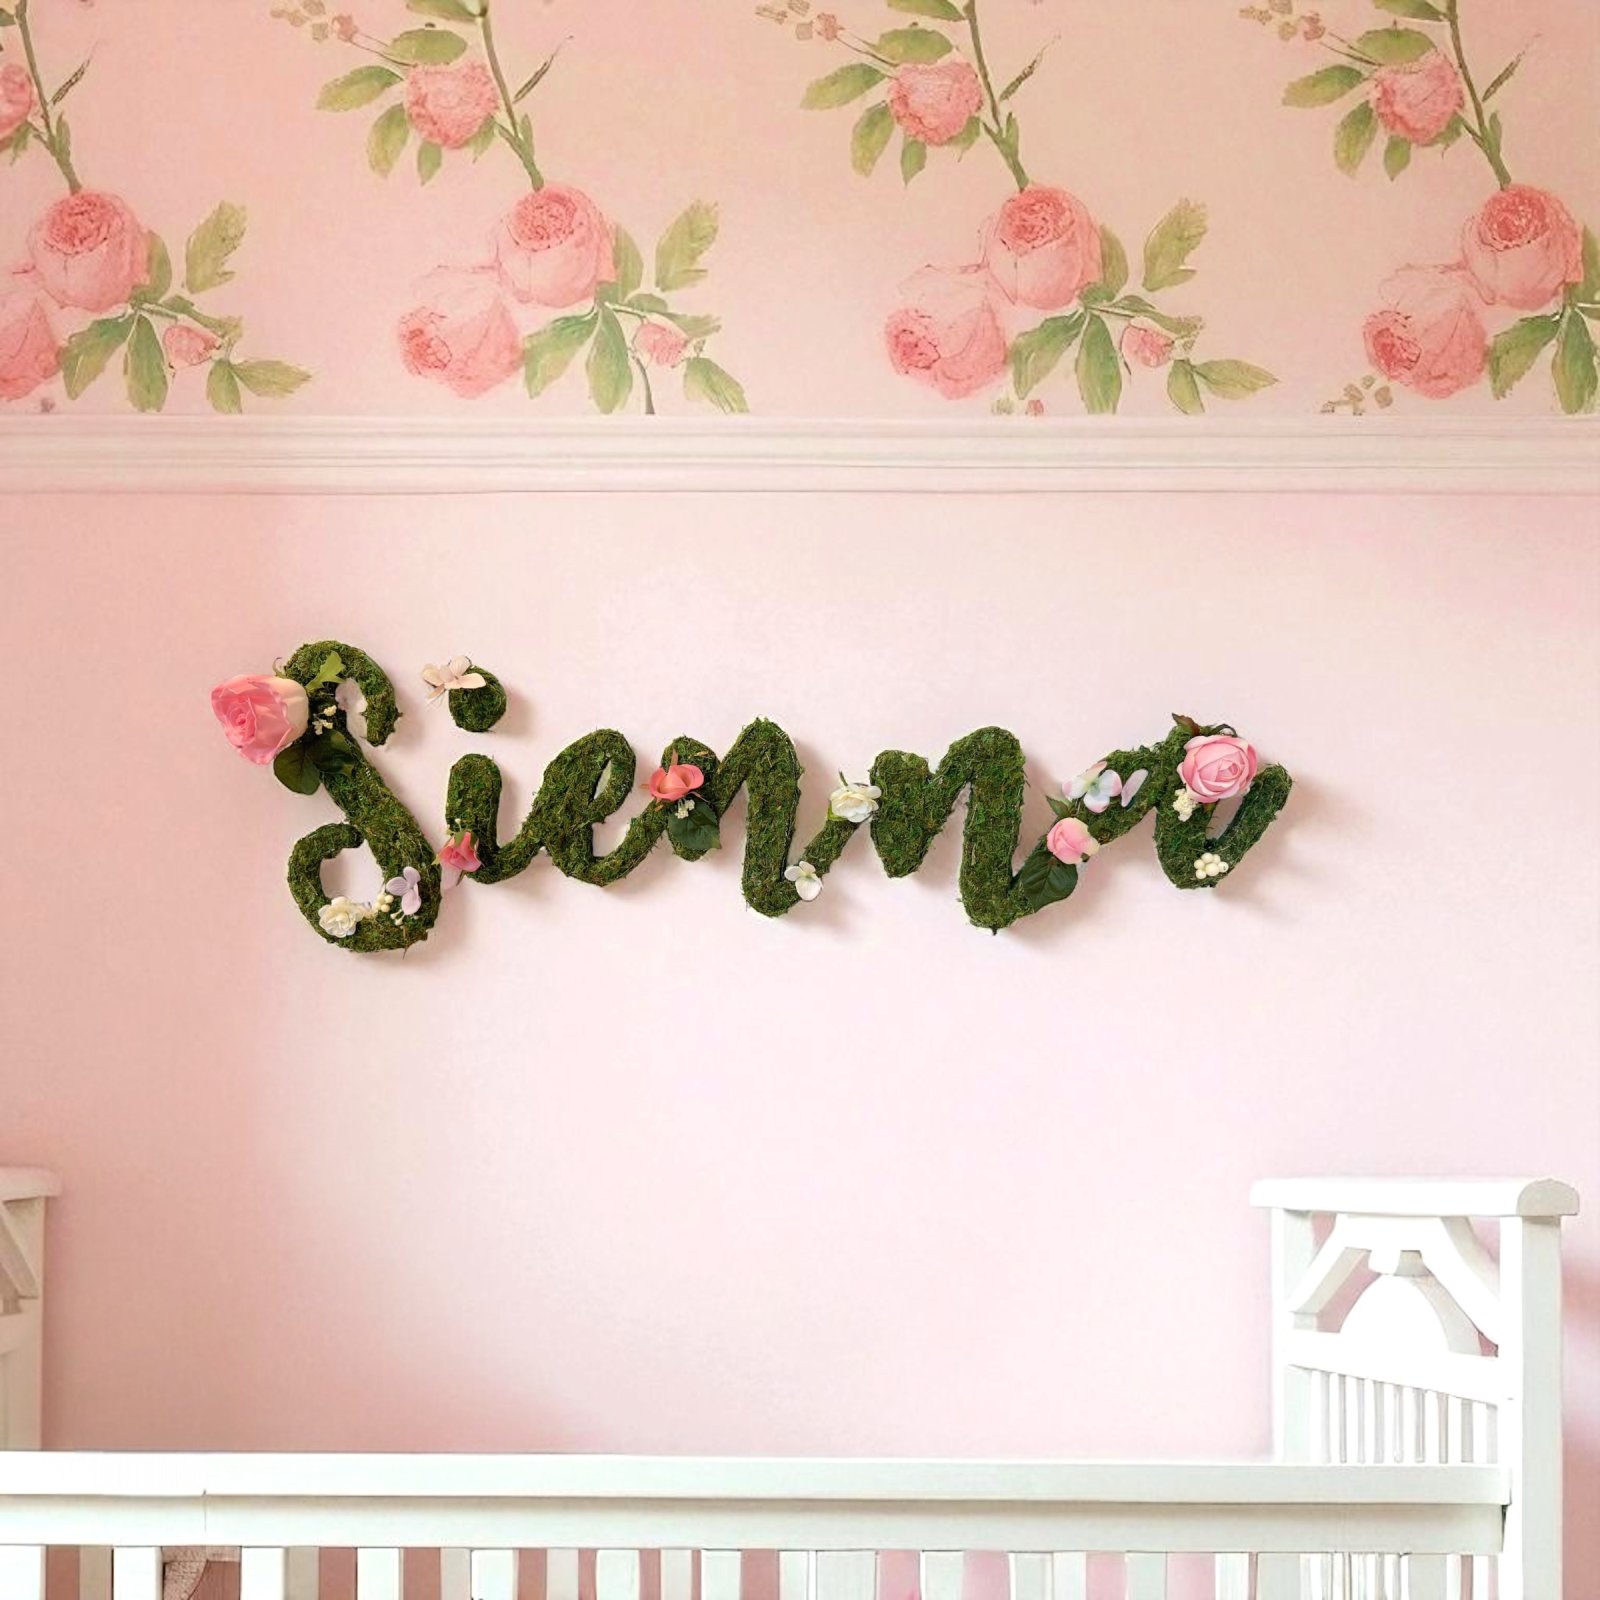
A name sign looks best when it fits with the rest of the room. Plan your nursery wall art at the same time so the two complement each other. For a matching piece, see the sun nursery wall monogram, which pairs with a name sign in the same style.
Common Mistakes When Hanging Nursery Signs
- Skipping the level. A sign that tilts a little looks wrong from across the room.
- Hanging too close to the crib. Keep signs out of the sleep zone.
- Using the wrong hardware. A light adhesive strip cannot hold a heavy sign.
- Measuring once and drilling immediately. Mark, step back, and check before you drill.
Booking Your Custom Name Sign for Your Nursery
Ready to skip the planning? Our painted wooden letters come with hanging hardware on the back, so you can start setting up the wall right away. Browse our baby name wall hanging or the girls nursery painted letters for a ready-to-hang option, or choose a personalized wooden monogram letter to spell out a name in your own colors.
Frequently Asked Questions
How do you hang a nursery sign on the wall?
Start by choosing a spot at a comfortable eye level and clear of the crib. Mark the position with light pencil marks, then use hardware suited to the sign's weight. Hang the sign, then use a level to confirm it sits straight before you step back and check the overall look.
What is the safest way to hang a sign above a crib?
Our Hanging Stars set carries a warning against hanging it over or near a baby crib.
Can you hang a nursery sign without nails?
Yes, for lightweight signs you can use removable adhesive strips rated for the sign's weight. Clean and dry the wall first, press the strip firmly, and let it cure before hanging the sign. Check the weight rating on the packaging and avoid heavier pieces, since adhesive is less reliable as weight increases. Removing strips slowly helps protect the paint.
Where should you place a name sign in a nursery?
Our Cloud-Shaped Baby Name Wood Nursery Room Sign and Sage Green Wooden Wall Letters are available.
