

Quick Summary
Brush-on sealer gives you more control and even coverage on painted wood letters, especially around edges and detail, while spray sealer covers flat faces and small parts faster. For most nursery projects, a thin-coat brush-on sealer for wood letters is the simpler choice, with spray reserved for intricate shapes.
- Spray sealer covers quickly and suits flat faces and small parts, but can overspray.
- Brush-on sealer gives precise control, though heavy coats can leave brush marks.
- Apply thin coats and coat edges and narrow sides before the flat face to avoid drips.
- Water-based brush-on sealers are often ready for a second coat within 2 to 4 hours.
- Test any sealer on a scrap piece painted with the same acrylics before sealing final letters.
Table of Contents
- Why Sealer Choice Matters for Painted Wood Letters
- Spray Sealer vs Brush-On Sealer: How They Differ
- How to Seal Acrylic Paint on Wood Letters with a Brush
- Getting Even Coverage on Dimensional Letter Edges and Narrow Sides
- Preventing Yellowing and Protecting Wood Nursery Signs
- Durable Finishes for Custom Baby Name Signs
- Choosing the Right Sealer for Your Wood Letter Project
- Frequently Asked Questions
Why Sealer Choice Matters for Painted Wood Letters
A sealer protects the paint on a wooden letter from scratches, moisture and fading. Choosing the wrong type can leave streaks, drips or a finish that yellows over time. For most nursery projects, the decision comes down to spray sealer or brush-on sealer for wood letters.
At TheFairyPaintBox, we create painted wood letters for nurseries, so we know how much the finish affects the final look. This guide compares the two methods and explains which one suits your project.
Spray Sealer vs Brush-On Sealer: How They Differ
Spray sealer goes on fast and evenly across flat faces. Brush-on sealer gives you more control, especially around detail and edges. Both can work well, but they behave differently.
- Spray sealer: Covers quickly, suits flat faces and small parts, but can overspray and waste product.
- Brush-on sealer: Gives precise control and even coverage, but takes longer and can leave brush marks if applied heavily.
Brush application is often preferred when control and uniform coverage matter more than speed. Spray can be useful for small, detailed pieces where a brush might catch fine edges.
How to Seal Acrylic Paint on Wood Letters with a Brush
Brush-on sealer rewards patience. For a step-by-step method that avoids smearing fresh paint, see how to seal painted wooden letters without smearing. The goal is thin, even coats that bond to the paint without dissolving it or pooling in details. Thin coats are generally easier to control than one thick coat.
Start with surface preparation. Wipe the painted letter with a dry, lint-free cloth to remove dust. If the paint has been dry for less than 24 hours, give it more time, acrylic paint continues to cure and a sealer applied too soon can trap solvent and cause cloudiness. Allow the paint to cure fully before sealing, following the timing on your paint and sealer labels.
Load the brush lightly. Dip only the tip of the bristles into the sealer, then wipe off excess on the rim of the container. You want the brush damp, not dripping. Work in one direction across each face using long, overlapping strokes. Avoid scrubbing back and forth, which can lift partially cured paint or introduce bubbles.
For dimensional letters, pay attention to edges and narrow sides. Use the tip of the brush to coat these areas first, then move to the flat face. This order prevents drips from forming on the face when you tilt the letter to reach the sides. Watch out: heavy coats pool in grooves and corners, and pooled sealer can dry unevenly, yellow, or remain tacky.
Recoating intervals matter. Most water-based brush-on sealers are ready for a second coat within 2 to 4 hours, but check the label, solvent-based products may need longer. Sand very lightly with a fine-grit pad between coats only if the surface feels rough; otherwise, a second thin coat bonds well to the first.
For more on this, read our guide on how to seal painted wooden letters without smearing.
Getting Even Coverage on Dimensional Letter Edges and Narrow Sides
Dimensional letters have edges and narrow sides that flat-surface advice often ignores. Spray sealer can reach these areas from a short distance, while a brush needs careful strokes to avoid pooling in corners.
Hold the sprayer a consistent distance away and sweep across the piece in light passes. For brush-on work, dip the tip only and wipe off excess before touching the edge.
Preventing Yellowing and Protecting Wood Nursery Signs
Some finishes yellow over time, especially in sunny rooms. Choose a sealer labelled non-yellowing and test it on a scrap piece of the same wood before sealing your final project.
Keep finished letters away from direct sunlight where possible. For guidance on protecting painted letters from moisture and wear, see how to waterproof painted wood letters for outdoor use. This protects both the paint and the sealer for years.
Durable Finishes for Custom Baby Name Signs
A custom baby name sign is a keepsake, so durability matters. Look for a sealer that resists moisture and light wear without making the wood look plastic. A satin finish often hides small imperfections better than gloss.
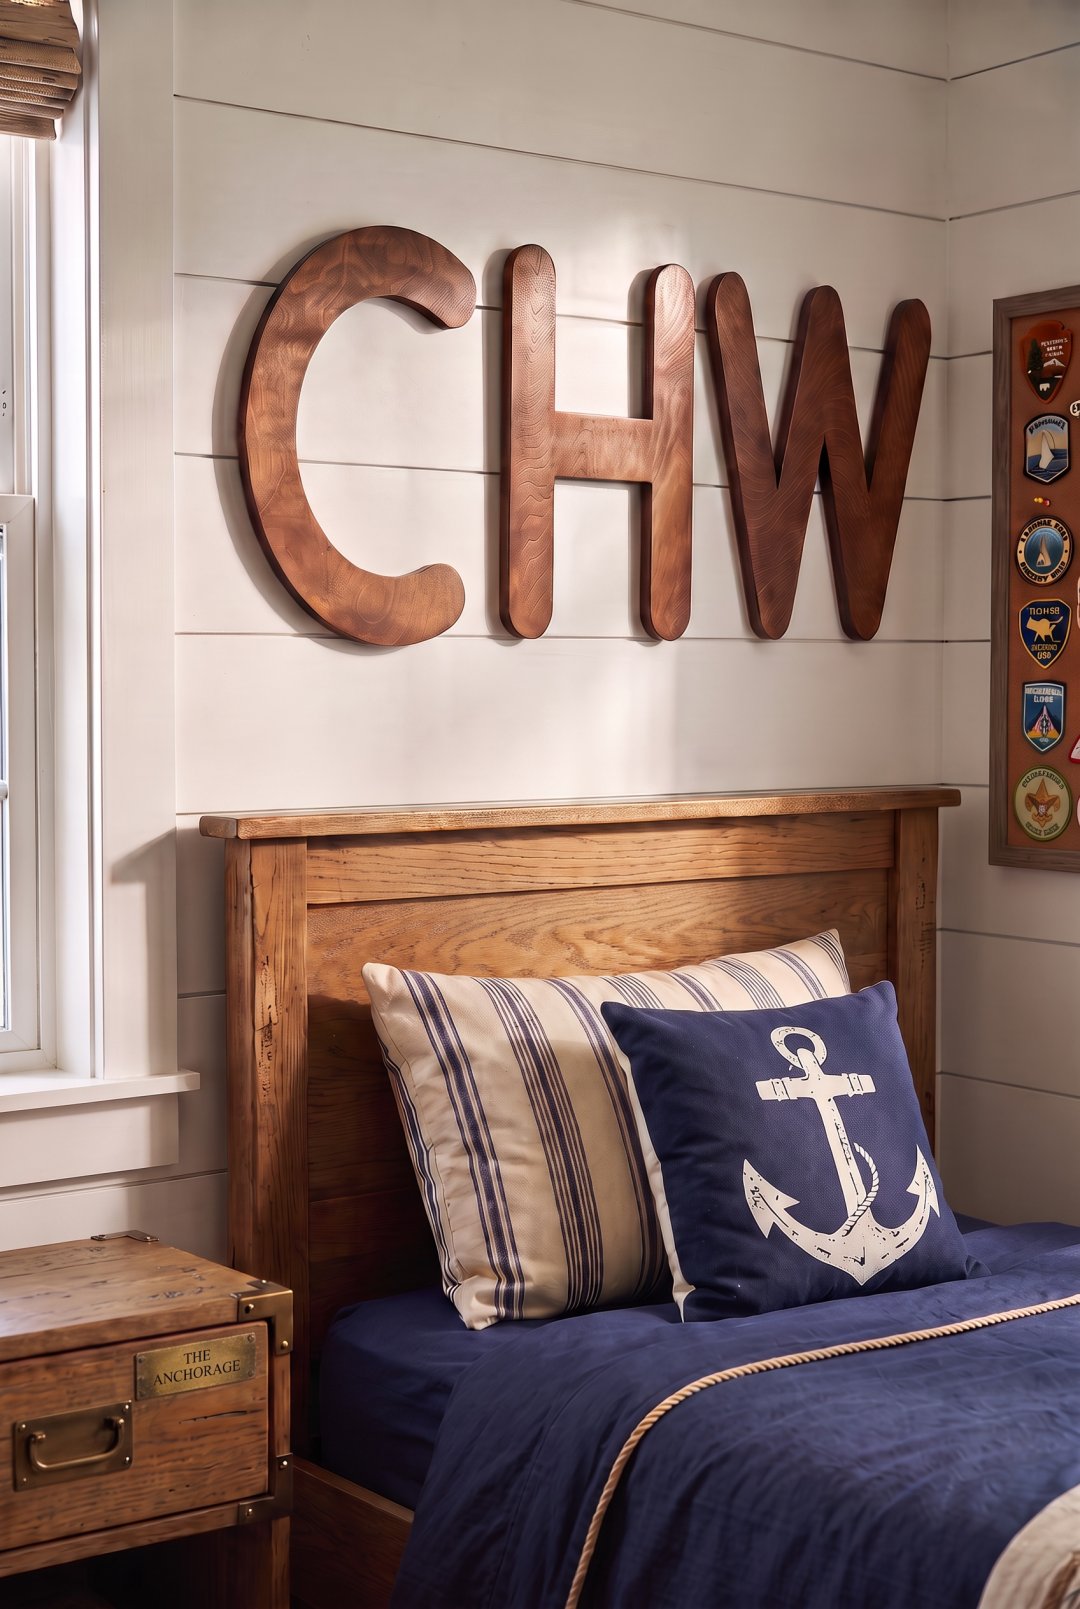
Our wood letters are unfinished Baltic birch, so they accept paint and sealer readily.
Choosing the Right Sealer for Your Wood Letter Project
Most comparisons stop at "spray is fast, brush is controlled." A more useful approach is to match the method to the specific job in front of you. Here is a direct, use-case-based guide for common wood letter projects.
For a single indoor name sign or nursery decor: Brush-on sealer is usually the simplest choice. You get precise control around letters, no overspray concerns in a small workspace, and you can work at your own pace. A satin brush-on finish also tends to look more natural on hand-painted letters than a sprayed film.
For outdoor lettering or letters exposed to moisture: Look for a sealer labeled for exterior use, and apply thin coats, coating every edge and narrow side evenly.
For intricate shapes, serif fonts, or letters with deep grooves: Spray sealer reaches recessed areas that a brush might miss or overload. Hold the can 8 to 10 inches away and use short bursts rather than continuous spraying to avoid pooling in details. Brush-on sealers can work on intricate shapes, but you need a small detail brush and a light touch to avoid buildup in corners.
For small batches or a full alphabet: Spray sealer saves time on setup and application across many pieces. Set up a spray area with ventilation and containment, then work through the batch in one session. Brush-on sealer becomes tedious for large batches because each letter needs individual attention, but it produces less waste and requires no spray booth.
For testing compatibility with your paint: Regardless of method, test the sealer on a scrap piece painted with the same acrylics. Apply one coat and check for paint lifting, cloudiness, yellowing, or unwanted sheen after it dries. Some sealers react with certain paint brands or pigments. A common pattern is to test both a spray and a brush-on product on separate scraps before committing to a full set of letters.
For workspace and safety considerations: Spray products require ventilation, respiratory protection, and overspray containment. If you are working in a small room or cannot set up proper airflow, brush-on sealer is the safer default. Brush-on products still need ventilation but produce far less airborne mist.
If you are still unsure, start with a brush-on sealer for a single letter and a spray sealer for a small test batch. Compare the finish, the drying time, and the effort involved. The right choice depends less on which method is "better" and more on the shape, quantity, and environment of your specific project.
Frequently Asked Questions
Is it better to brush or spray a sealer on wood letters?
Brushing gives more control over where the sealer lands, which helps with small, detailed or raised letters where overspray can collect in corners. Spraying covers large flat surfaces faster and more evenly, but it needs a ventilated workspace and masking around the letter. Many crafters use a brush for edges and a light spray for the face, though a brush alone works well for most nursery signs.
Can I use spray sealer on painted wood letters?
Yes. Spray sealer works well on painted wood letters, especially for detailed shapes and small parts where a brush might leave pooling or streaks. Apply several light coats rather than one heavy coat, let each layer dry fully, and keep the can moving to avoid drips. Test the product on a scrap piece of the same wood and paint first.
How long should I wait before sealing painted wood letters?
Let the acrylic paint dry completely before sealing, which usually takes several hours for thin coats and longer for thick ones. Sealing paint that is still tacky can trap moisture and cause clouding or lifting. Check the drying time on your paint and sealer labels and wait until the surface feels dry to a light touch before starting.
Does a matte or glossy sealer work better for wood nursery decor?
A satin or matte finish suits most nursery decor because it reduces glare and hides brush marks better than gloss, which shows every imperfection on a painted letter. Gloss gives a brighter, more polished look but highlights unevenness. Choose the finish you want on the wall, and test a sample before committing to a full set of letters.
