


Last Updated: November 14, 2026
Quick Summary
To seal painted wooden letters without smearing, let the paint dry fully, usually overnight, then apply a clear sealer in thin coats. Choose a water-based acrylic or polyurethane for indoor letters, and test the sealer on a scrap first to make sure it won't smear your paint.
- Let acrylic paint dry for several hours, then leave it overnight if you can.
- Use a clear water-based acrylic sealer for indoor letters that get little handling.
- Choose a water-resistant sealer with UV protection for outdoor or damp locations.
- Apply thin coats with a soft brush, since heavy coats run and stay tacky.
- Run a compatibility test on a spare scrap before sealing the finished letters.
Table of Contents
- Why Sealing Painted Wooden Letters Matters
- Choosing the Best Sealer for Painted Wood
- How Long Paint Should Dry Before Sealing
- Step-by-Step: How to Seal Acrylic Paint on Wood
- Waterproof Sealer for Painted Wood: Indoor, Outdoor and Handling
- Troubleshooting Bubbles, Brush Marks and Bleeding
- Finish Your Letters and Plan Your Nursery Display
- Frequently Asked Questions
Why Sealing Painted Wooden Letters Matters
Painted wooden letters look lovely on a nursery wall, but paint alone is easy to scuff, mark and wipe off. A clear sealer adds a protective layer that helps the paint hold up to daily handling and cleaning. At TheFairyPaintBox, we hand paint our wood letters.
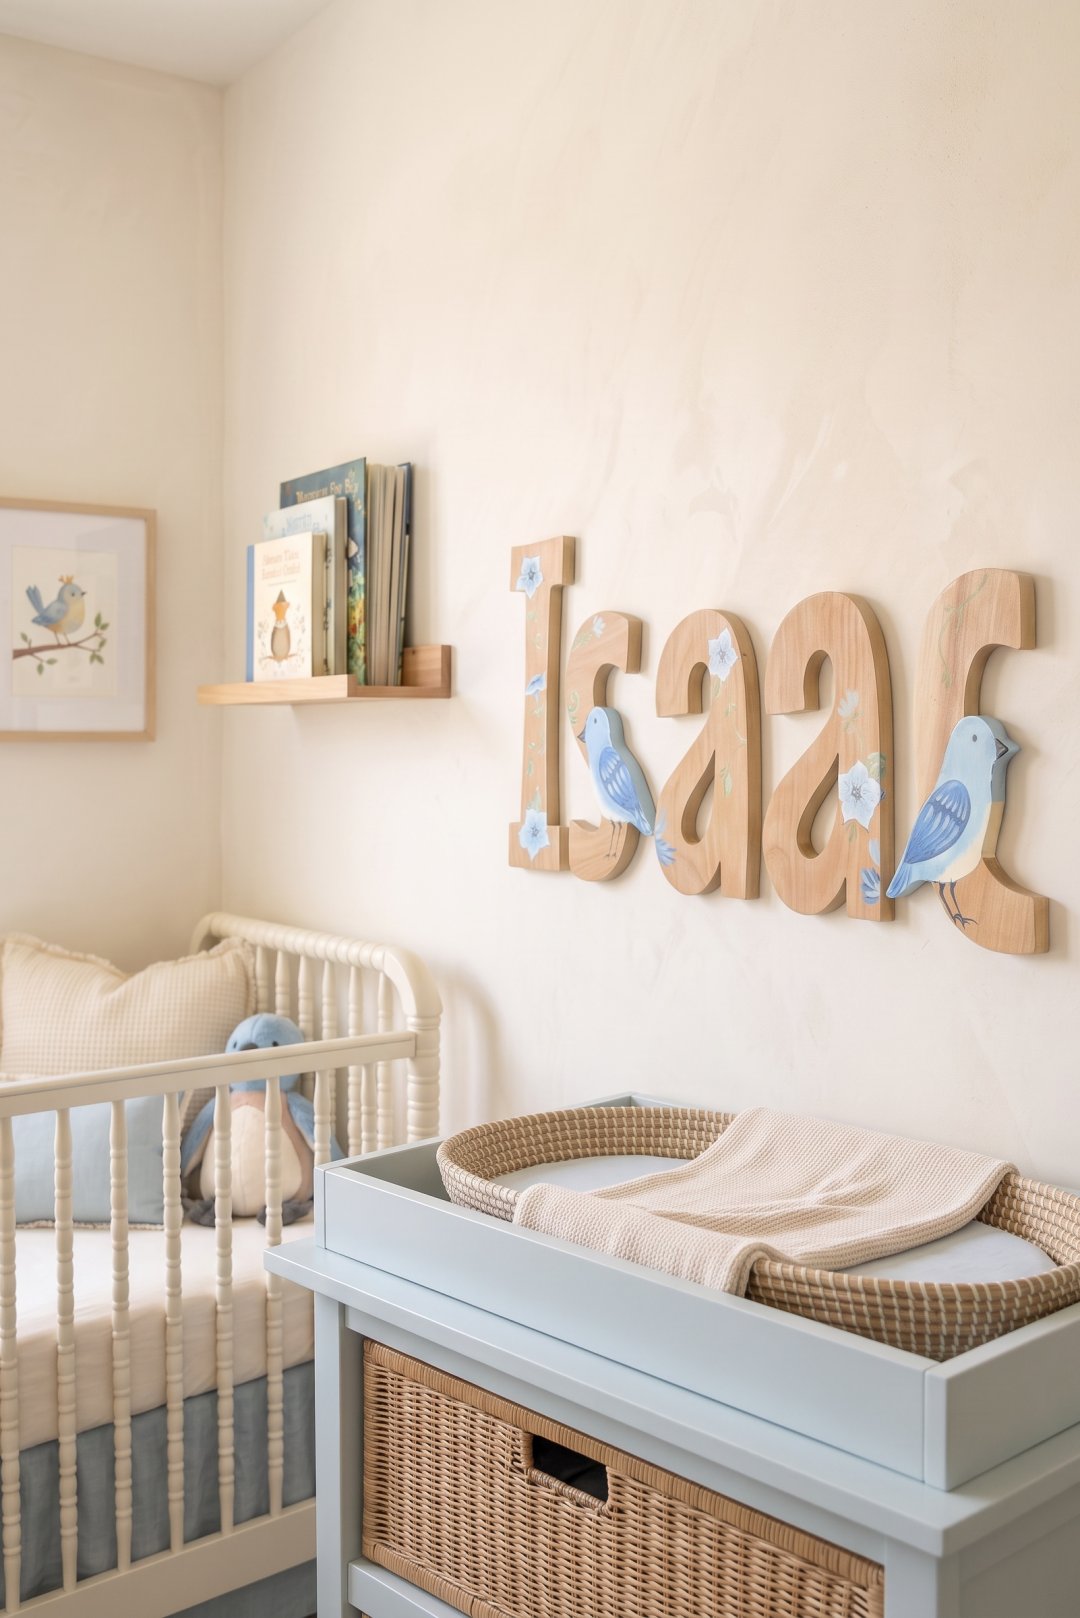
Knowing how to seal painted wooden letters in the right order matters.
- Sealer protects against scuffs and light wear
- A clear coat makes cleaning dust or fingerprints easier
- A good finish helps colours stay true over time
Choosing the Best Sealer for Painted Wood
The right sealer is the one that matches where the letters will live and what they will be touched by. Rather than picking a favorite product, work through three questions: Will the letters stay indoors or go outside? Will they be handled often or mostly left alone? And what exactly is under the sealer, acrylic paint, craft paint, paint marker, ink, or vinyl?
Indoor, low-handling letters (nursery walls, shelf displays). A clear water-based acrylic sealer is the usual choice. It dries fast, has little odor, cleans up with water, and stays clear rather than yellowing. One or two thin coats are usually enough for dust and occasional fingerprints.
Indoor, high-handling letters (kids' rooms, play areas, letters that get moved). Step up to a water-based polyurethane or a harder acrylic finish. These resist scuffs and repeated wiping better than a basic acrylic sealer, though they can feel slightly more plastic-like on the surface.
Outdoor or damp locations (porches, garden signs, bathrooms). Look for a sealer explicitly labeled water-resistant or weather-resistant, and prefer one with UV protection so colors do not fade in sunlight. Solvent-based exterior polyurethane is tougher but smells strong while drying and can amber over time; a good exterior water-based spar-style finish is a lower-odor alternative. Apply more coats than you would indoors, typically three thin coats rather than two.
Compatibility is the step most people skip. Clear coats do not behave the same over every lettering material:
- Acrylic and craft paint: Generally compatible with water-based acrylic and polyurethane sealers. Water-based sealers are the safe default.
- Paint markers and ink: These can re-wet and smear under a water-based sealer applied too heavily. Test first, and use very thin coats.
- Vinyl lettering or decals: Solvent-based sealers can attack the adhesive or wrinkle the vinyl; water-based is usually safer, but always test.
- Oil-based paint or stain: Needs to be fully cured, and a water-based sealer over it can bead or fail to adhere, a solvent-based or shellac-based sealer is often more reliable here.
Always run a compatibility test before committing. Paint a spare scrap of the same wood with the same paint or marker, let it cure fully, then apply the sealer exactly as you plan to on the real letters. Wait the full recoat and cure time. If the test smears, wrinkles, or beads, change the sealer rather than risk the finished piece. This five-minute test is the single best protection against ruining hours of lettering work.
Read the label for two things in particular: the recoat window (how soon you can add the next coat) and the full cure time (when the finish is truly hard). Those numbers vary by brand and matter more than the marketing on the front of the can. If you are still deciding which paint to use under the sealer, our guide on choosing the right paint for wooden letters covers that step, and you can browse our painted wood letter collection to see the finished look you are aiming for.
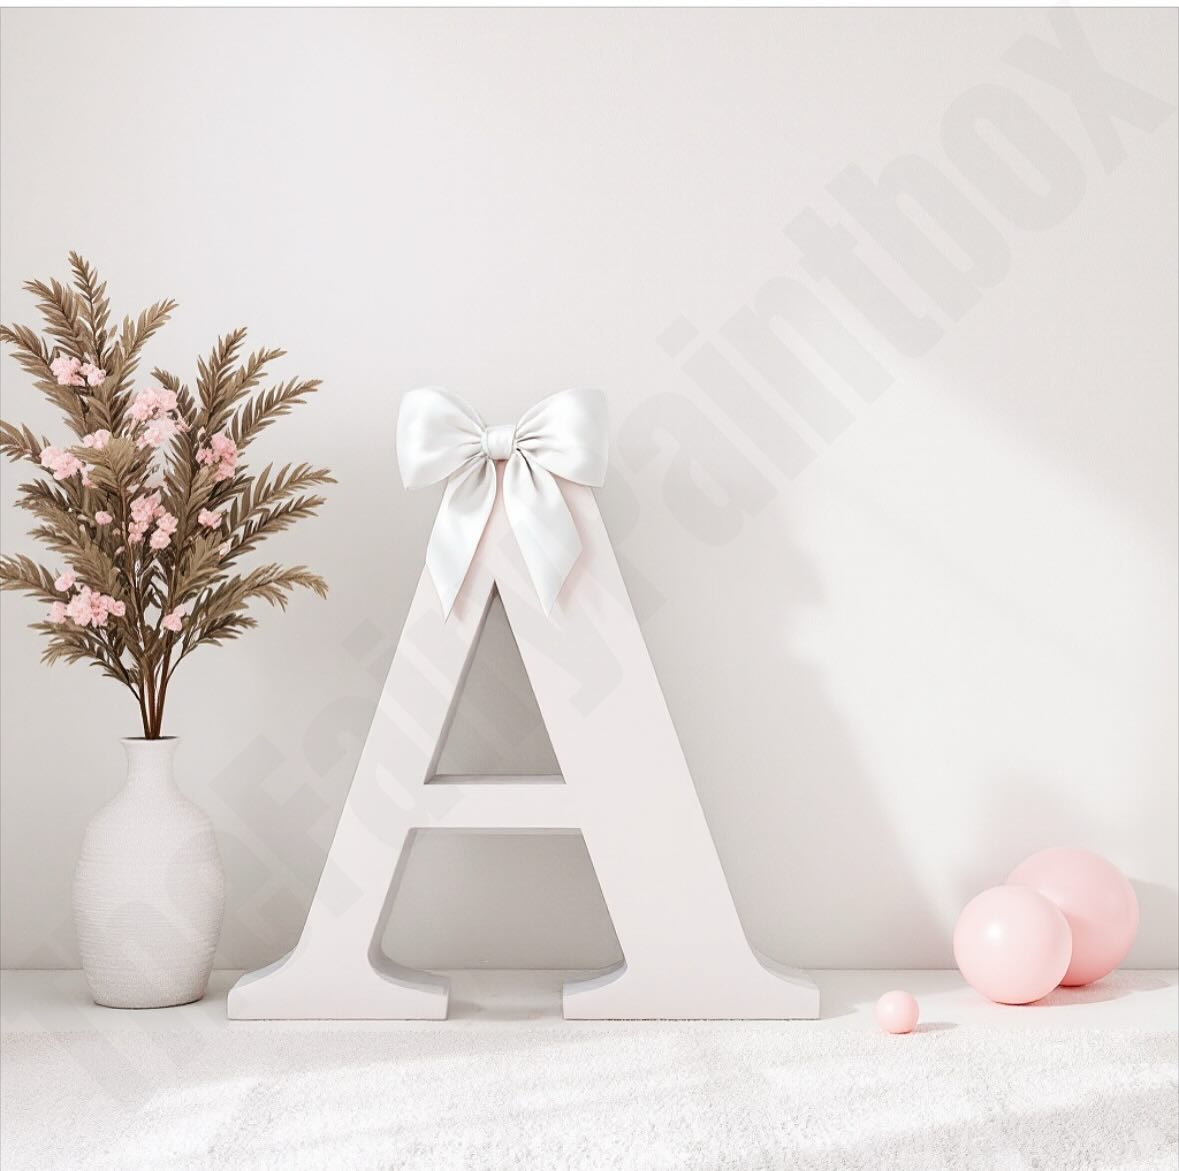
How Long Paint Should Dry Before Sealing
Paint needs to be fully dry before you add a sealer. Acrylic paint often feels dry to the touch within an hour, but the film underneath is still curing. Sealing too early can trap moisture, cause the paint to lift, or leave a smeared look.
As a general rule, let acrylic paint dry for several hours, then leave it overnight if you can. Thicker coats need longer. Always follow the drying time on your paint and sealer labels, since they vary by brand.
Step-by-Step: How to Seal Acrylic Paint on Wood
Work in a clean, dust-free room with good airflow, and lay the letters flat on a protected surface.
- Confirm the paint is fully dry. Press a corner gently with a fingertip to check for tackiness.
- Stir the sealer gently. Avoid shaking, which creates bubbles.
- Load a soft brush lightly. Wipe off the extra on the jar rim.
- Apply a thin first coat. Brush in one direction, covering the letter edge to edge.
- Let it dry fully. Check the label for the recoat window.
- Add a second thin coat if needed, then let it cure before handling.
Here is a quick summary of the process:
| Step | What to do | Typical timing |
|---|---|---|
| Check paint | Confirm it is fully dry | Overnight for best results |
| First coat | Apply a thin, even layer | Dry per label |
| Second coat | Add only if needed | Dry per label |
| Full cure | Handle gently until cured | Often a few days |
Our 7 steps to paint wooden letters for a nursery guide covers the painting side of this process in more detail.
Applying Thin Coats Without Smearing
Thin coats are the key to avoiding smears. A heavy coat can run, pool in the corners of letters, and stay tacky for days. Use light, short strokes and resist the urge to go back over a spot that already looks dry. If you spot a drip, let it dry and sand it gently before adding another thin coat.
Waterproof Sealer for Painted Wood: Indoor, Outdoor and Handling
Most painted nursery letters hang indoors, where a clear water-based sealer gives enough protection against everyday wear. If you plan to display letters somewhere damp or outdoors, look for a sealer labelled as water-resistant or weather-resistant, and test it first.
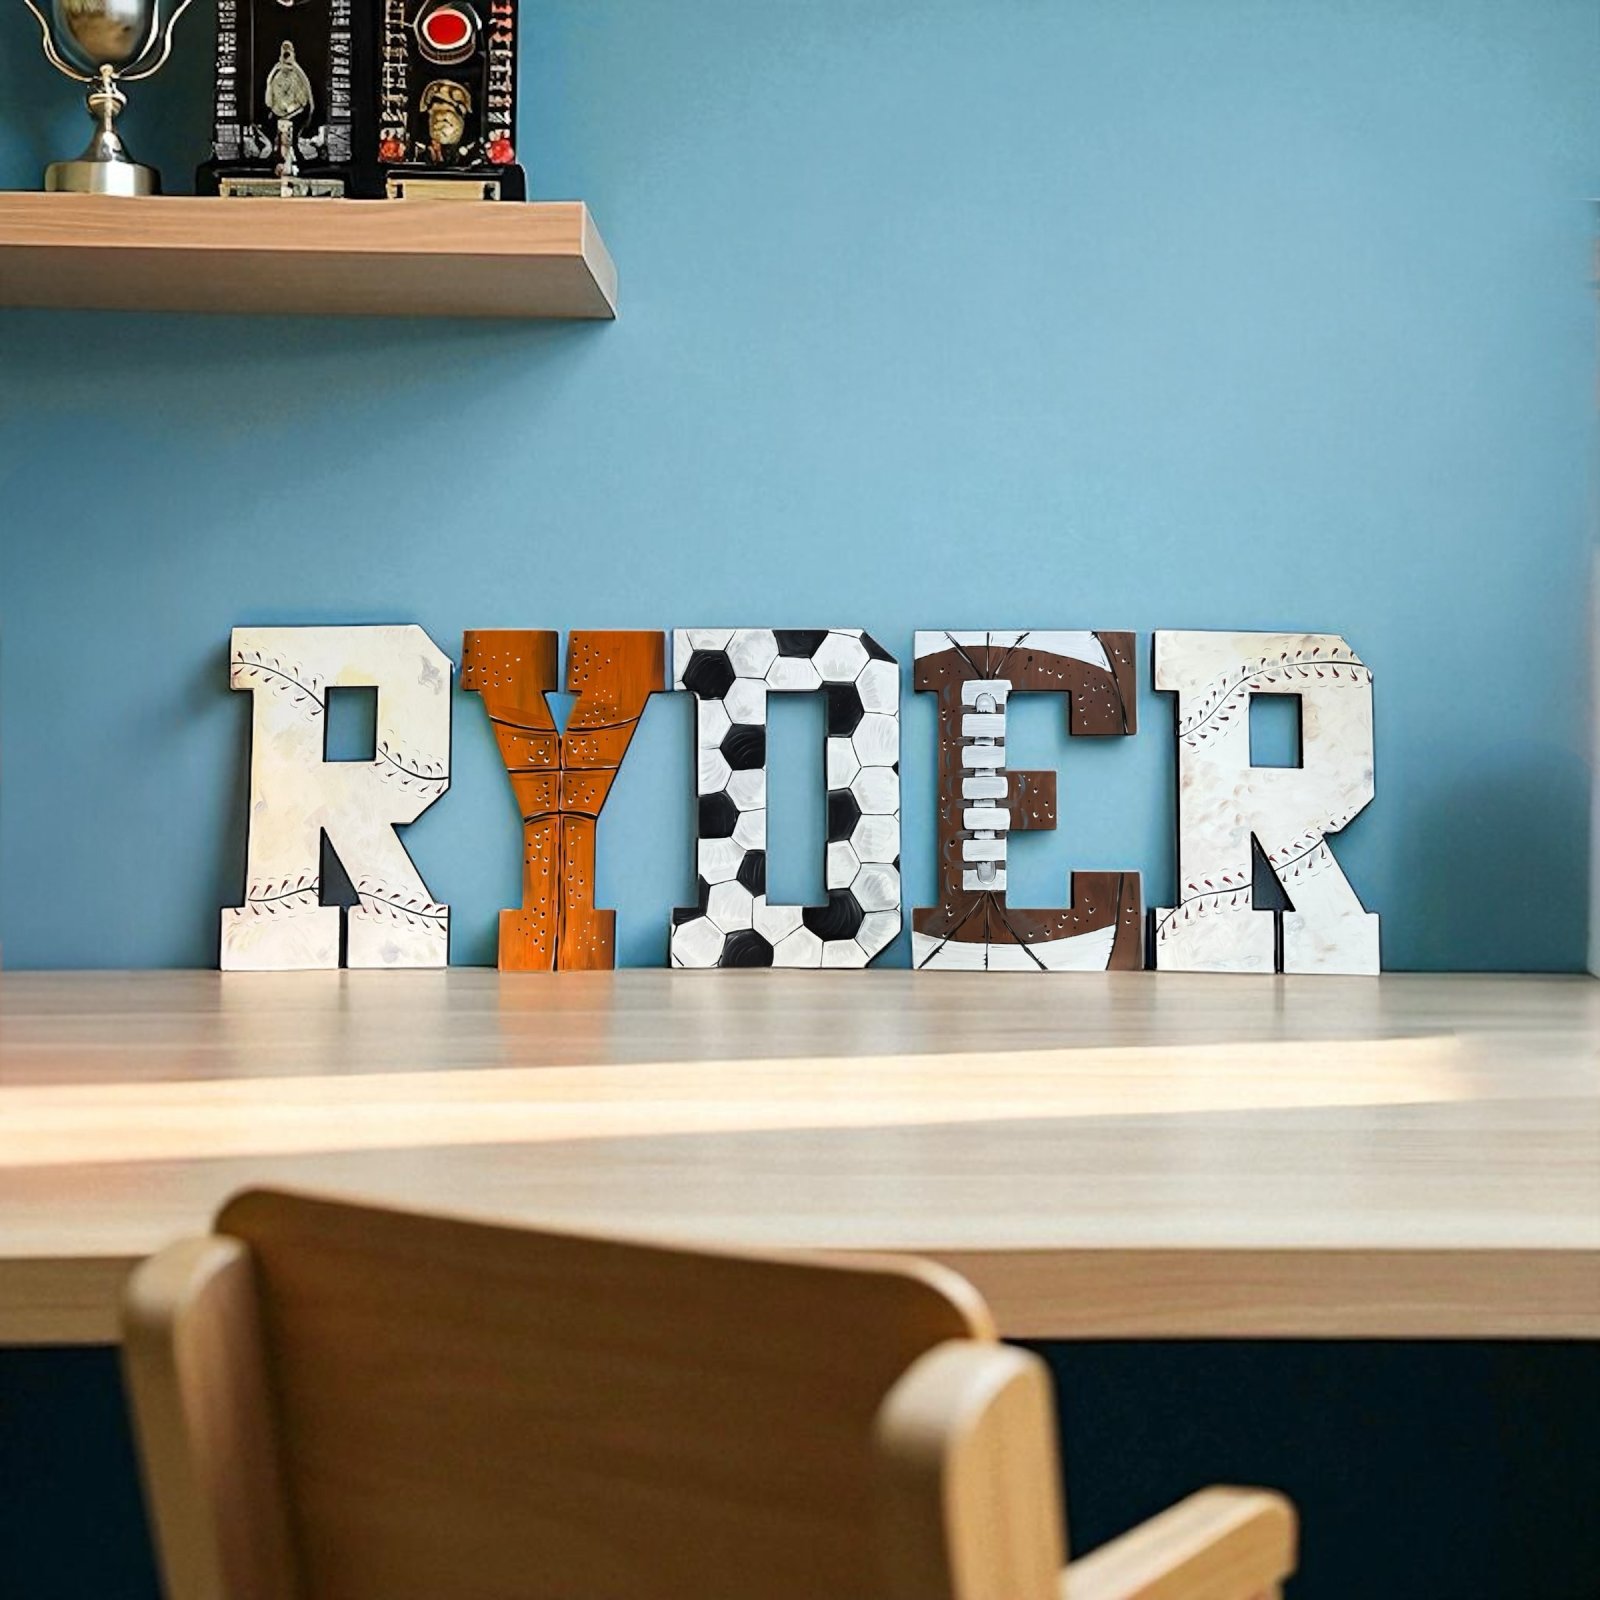
Handling matters too. Wash your hands before touching freshly sealed pieces, and avoid stacking letters until they have fully cured. Our guide on how durable custom nursery signs are explains how different conditions affect long-term wear.
Troubleshooting Bubbles, Brush Marks and Bleeding
Almost every finish problem traces back to one of three causes: too much product, working too fast, or sealing before the paint was truly cured. Diagnosing which one you are dealing with is what makes the fix stick.
Bubbles. These come from air trapped in the sealer or whipped up by shaking the can. The fix is preventive: stir gently with a stick rather than shaking, pour a small amount into a separate cup, and brush slowly enough that you are not folding air into the coat. If bubbles appear while the coat is still wet, drag a clean brush tip through them once and leave it alone. Do not keep brushing, that adds more air. If bubbles dry in place, sand them flat with fine grit once fully dry, wipe off the dust, and recoat thinly.
Brush marks and streaks. Usually a sign of a stiff brush, a dry brush, or a coat applied too thickly. Use a soft synthetic brush sized to the letter, load it lightly, and brush in one consistent direction rather than scrubbing back and forth. Thin the first coat slightly if the product allows it. Watch out: going back over a spot that has started to set will lift the half-dry film and leave a gummy ridge, once a section begins to tack, leave it until the next coat.
Bleeding and smearing. This is the most common failure with painted or inked lettering, and it almost always means the paint underneath was not fully cured or the sealer was applied too heavily. Water-based sealers can re-wet water-based paint and markers, especially on the first coat. The fix is patience and restraint: let the paint cure overnight, apply the thinnest possible first coat, and let it dry completely before the second. If a color still bleeds, switch to a sealer with a different solvent base and test on a scrap first.
Fuzzy wood edges. Raised grain on the edges of letters grabs sealer unevenly and looks rough under a clear coat. Lightly sand the bare wood with fine grit before painting, and if the grain lifts after the first sealer coat, sand it smooth once dry and recoat.
A failed or cloudy coat. If a coat dries cloudy, tacky, or uneven, do not try to fix it wet. Let it cure fully, sand it lightly to dull the surface and remove defects, wipe away all dust, and apply a fresh thin coat. If the problem was a reaction between the sealer and the paint underneath, no amount of recoating will fix it, strip the sealer and start over with a tested, compatible product.
When to stop and restart. If you have sanded and recoated twice and the finish still smears, wrinkles, or stays tacky, the sealer and the paint are incompatible. Sand back to the paint, test a different sealer on a scrap, and only then redo the letters. Knowing when to restart saves you from chasing a problem coat after coat.
Finish Your Letters and Plan Your Nursery Display
Once your sealer has cured, your letters are ready to hang or stand on a shelf. Plan the layout before you mount anything, and measure the wall space so the letters sit where you want them. If you want a softer finish alongside your painted letters, our preserved moss letters for nursery decor are a lovely option.
Sealing takes a little patience, but a careful, thin finish protects your work and keeps the letters looking bright. Once you know how to seal painted wooden letters properly, the results speak for themselves. We would love to see your nursery, so reach out and share a photo of your finished display.
Frequently Asked Questions
What can you put over painted wood to seal it?
Painted wood is commonly sealed with a clear water-based acrylic sealer, a brush-on polyurethane, or a spray acrylic finish. Water-based products are easier to apply on acrylic paint and dry without strong fumes, which suits nursery and indoor pieces. Solvent-based polyurethane gives a harder, more durable surface but needs longer drying and better ventilation. Test any sealer on a scrap piece of the same painted wood before committing to the letters, since some clear coats can lift or yellow fresh paint.
How long should paint dry before sealing wooden letters?
Let painted letters dry fully before sealing, which usually means at least several hours for thin acrylic coats and often overnight for thicker layers. Sealing while the paint is still tacky causes smearing and lifted edges. Check the paint and sealer labels for recoat times, since they vary by product. Waiting a full day before the first clear coat is a safe habit, especially on humid days when paint takes longer to cure.
Do painted wooden letters need a clear coat?
Painted wooden letters do not always need a clear coat, especially decorative pieces displayed indoors away from handling. A clear coat helps protect the paint from scuffs, dust and moisture, and it makes wiping clean easier in a nursery. Pieces that will be touched often, placed near humid areas or displayed outdoors benefit more from a sealer. If you skip sealing, handle the letters gently and keep them away from damp surfaces.
Is Mod Podge a good sealer for painted wood?
Mod Podge can seal painted wood for light decorative use, but it is not the strongest choice for letters that will be handled or cleaned. It dries to a softer finish that can show brush marks and may stay slightly tacky if applied too thickly. For better moisture and scuff resistance, a dedicated water-based polyurethane or acrylic sealer designed for wood usually performs better. If you use Mod Podge, apply very thin coats and allow each one to dry completely.
