


Last Updated: November 19, 2026
Quick Summary
Yes, a clear coat is worth adding to acrylic painted nursery letters. Use a water-based, acrylic-compatible sealer such as a polycrylic, apply two thin coats, and let the paint dry at least 24 hours before sealing. A matte or satin finish usually suits a nursery best.
- Wait at least 24 hours after the last paint coat before sealing.
- Choose a water-based sealer labelled clear and acrylic compatible.
- Apply two thin coats rather than one thick coat.
- Avoid oil-based varnishes, which can yellow and change paint colour.
- Let letters cure for several days before hanging them in a nursery.
Table of Contents
- Do Acrylic-Painted Nursery Letters Need a Clear Coat?
- Choosing the Best Clear Coat for Acrylic Painted Nursery Letters
- How Long to Let Acrylic Paint Dry Before Sealing
- How to Seal Painted Wooden Letters Without Smearing
- Spray Sealer or Brush-On: Which Suits Acrylic on Wood?
- Troubleshooting Common Clear Coat Problems on Nursery Letters
- Finishing Your Nursery Letters Before Hanging Them
- Frequently Asked Questions
Do Acrylic-Painted Nursery Letters Need a Clear Coat?
Yes, most painted nursery letters benefit from a clear coat. Acrylic paint dries to a soft film, and a sealer adds a layer that resists scuffs, fingerprints and dust (Acrylic paint). Without one, a letter that gets touched often can lose its colour at the edges.
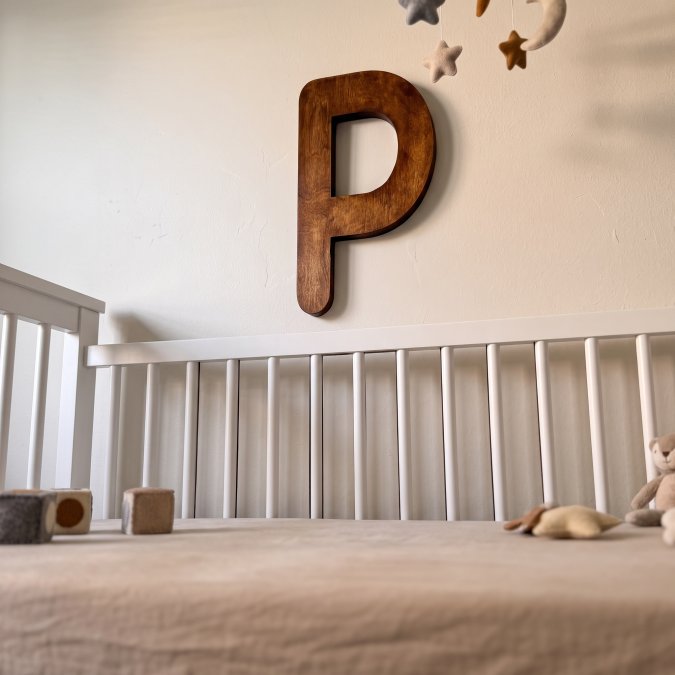
If the letters hang high on a wall and rarely get touched, a clear coat is still a good idea. A sealed letter also wipes clean more easily, which matters in a nursery.
Choosing the Best Clear Coat for Acrylic Painted Nursery Letters
Not every clear coat suits acrylic paint on wood. Pick a product made for water-based paints and wood projects. Check the label for the words "clear," "water-based" and "acrylic compatible." Avoid oil-based varnishes on acrylic letters, since they can yellow over time and change the colour of your paint.
Test any sealer on a scrap piece first. Paint a small patch, seal it, and let it dry fully. Look for changes in colour, sheen or texture before you seal the whole set. A common pattern is to test both a water-based acrylic sealer and a polycrylic on separate scraps to compare how each affects the paint tone.
Water-Based Acrylic Sealers
Water-based acrylic sealers are a common choice for home crafters. They generally dry quickly, have little smell, and clean up with water.
Apply two thin coats rather than one thick coat. Thick coats can cloud or drip. Let each coat dry before adding the next. A soft synthetic brush made for water-based finishes is a sensible choice for an even result.
Polycrylic and Other Protective Finishes
Polycrylic is a water-based protective finish that many crafters use on painted wood. It builds a tough, clear layer that handles daily wear well. Choose a matte or satin version if you want a soft look, or a gloss version for a shine. To compare sheen levels side by side, see matte and glossy sealer options for painted wood.
Some polycrylics can add a slight warm tint over time. Test on a scrap piece if your paint is a very cool shade, such as a pale blue. For nursery letters, a matte or satin finish often suits the room better than high gloss, which can show dust and fingerprints more readily.
Matching the Finish to Your Nursery Decor
Think about the look you want before you buy. Matte finishes blend into the background and hide minor brush marks. Satin gives a subtle sheen that wipes clean easily. Gloss reflects light and makes colours pop, but it also highlights imperfections in the paint or wood.
If your letters have detailed patterns or hand-painted accents, a satin finish usually balances protection with a soft, room-friendly look. For letters that will be handled often, a slightly more durable satin or gloss may hold up better than matte.
Nursery-Specific Safety and Ventilation
Choose a low-odour, low-VOC water-based sealer when possible. Apply it in a well-ventilated area, away from children and pets. Let the letters cure fully before bringing them into the nursery, most water-based finishes need at least 24 to 48 hours to stop off-gassing, and some need longer in humid conditions.
Watch out: Sealing letters in a closed room without airflow can leave lingering odour and slow the cure. Keep the space ventilated and keep finished letters out of reach until they are fully cured.
How Long to Let Acrylic Paint Dry Before Sealing
Wait until the paint is fully dry before you seal it. Acrylic paint often feels dry to the touch within an hour, but the film underneath is still curing. Sealing too early can trap moisture and cause a cloudy finish.
A common guideline is to wait at least 24 hours after the last paint coat. Thicker or darker colours may need longer. Dry paint should not feel tacky or leave marks when you press lightly on a hidden spot.
- Let the paint dry at room temperature
- Keep the letters away from direct sun while they dry
- Wait 24 hours or more before the first clear coat
- Let each sealer coat dry fully before the next
Recoat and Cure Times for Clear Coats
Most water-based clear coats are ready for a second coat within 2 to 4 hours, but check the product label, humidity and temperature can stretch that window. A thin coat in a warm, dry room may dry faster; a thick coat in a cool, damp space may need overnight.
After the final coat, let the letters cure for at least 24 hours before handling them much. Full hardness can take several days. Allow time for the finish to harden fully before hanging letters in a nursery.
Conditions That Affect Drying
Airflow, temperature, and humidity all change how fast acrylic paint and sealer dry. A warm room with good airflow speeds things up; a cool, closed room slows them down. Avoid drying letters in direct sun, which can cause the paint to skin over while the underside stays wet.
Watch out: Sealing a letter that still feels cool or tacky to the touch can trap solvent and leave a permanently soft finish. If in doubt, wait another day.
The timing for each stage of drying and sealing is summarised below.
| Stage | Guideline | Note |
|---|---|---|
| Paint dry before sealing | At least 24 hours | Thicker or darker colours may need longer |
| Between sealer coats | 2 to 4 hours | Check the product label; humidity can change this |
| Before handling after final coat | At least 24 hours | Gives the finish time to harden |
| Full hardness | Several days | Allow this before hanging in a nursery |
How to Seal Painted Wooden Letters Without Smearing
Smearing happens when you brush too much sealer or move the brush over paint that is not fully set. The fix is simple: use light strokes and let the sealer do the work.
- Place each letter on a clean, flat surface, such as a sheet of paper or a drop cloth.
- Dip a soft, clean brush into the sealer. Wipe off the extra on the rim of the jar.
- Brush in one direction with long, light strokes. Start at the top and work down.
- Cover the front, sides and edges. Do not go back over wet areas.
- Let the first coat dry completely, then add a second thin coat.
A common mistake is painting the sealer on in thick layers. Thin coats dry clear and even. Thick coats can leave brush marks or pooling at the bottom of the letter.
- Use a soft brush made for water-based finishes
- Work in a dust-free room with good airflow
- Keep your strokes light and consistent
- Seal the back and edges too, so moisture cannot get in
Spray Sealer or Brush-On: Which Suits Acrylic on Wood?
Both methods work well on acrylic letters. Spray sealer gives a very even finish with no brush marks, and it suits detailed fonts with lots of curves. For a fuller breakdown of both application methods, read spray and brush-on sealer differences for wood letters. It needs more care, though. Use it outdoors or in a well-ventilated room, and protect nearby surfaces from overspray.
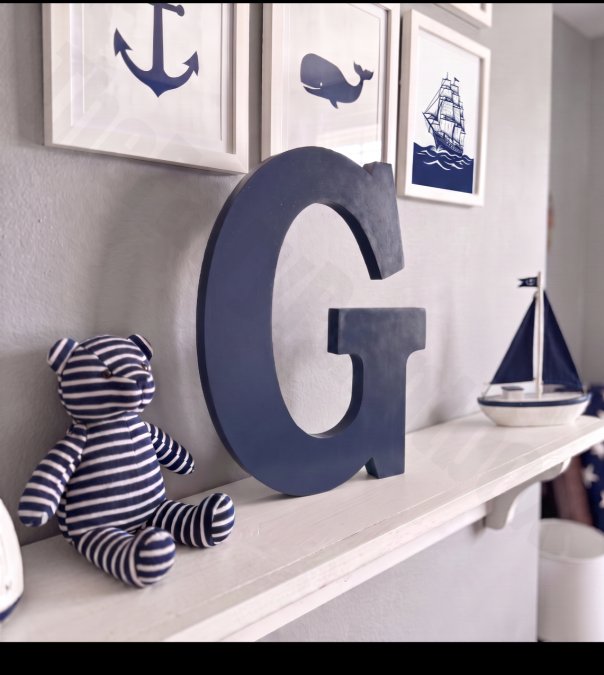
Brush-on sealer is easier to control in a small space. It takes more patience, since you need several thin coats, but it avoids the fumes and mess of a spray can. For most nursery projects, a brush-on water-based sealer is the simpler choice.
Troubleshooting Common Clear Coat Problems on Nursery Letters
Most finish problems have a clear cause. Here are the most common ones and how to fix them.
- Cloudy or milky finish: The paint was not fully dry, or the air was damp. Let the letter dry in a warm, dry room, then add a thin coat.
- Brush marks: The sealer was applied too thick or brushed back and forth. Sand lightly with fine sandpaper once dry, wipe off dust, and add a thin coat.
- Colour change: The sealer yellows or shifts the paint tone. Switch to a clearer water-based product and test on scrap wood first.
- Sticky surface: The coats went on too heavily or did not get enough drying time. Wait longer, then apply thinner coats next time.
- Drips or runs: Too much sealer was loaded onto the brush. Wipe the drip gently while wet, or sand it smooth once dry.
Finishing Your Nursery Letters Before Hanging Them
Once the clear coat has fully cured, let the letters sit for a day before you handle them much. This gives the finish time to harden. Then check each letter for even sheen and smooth edges.
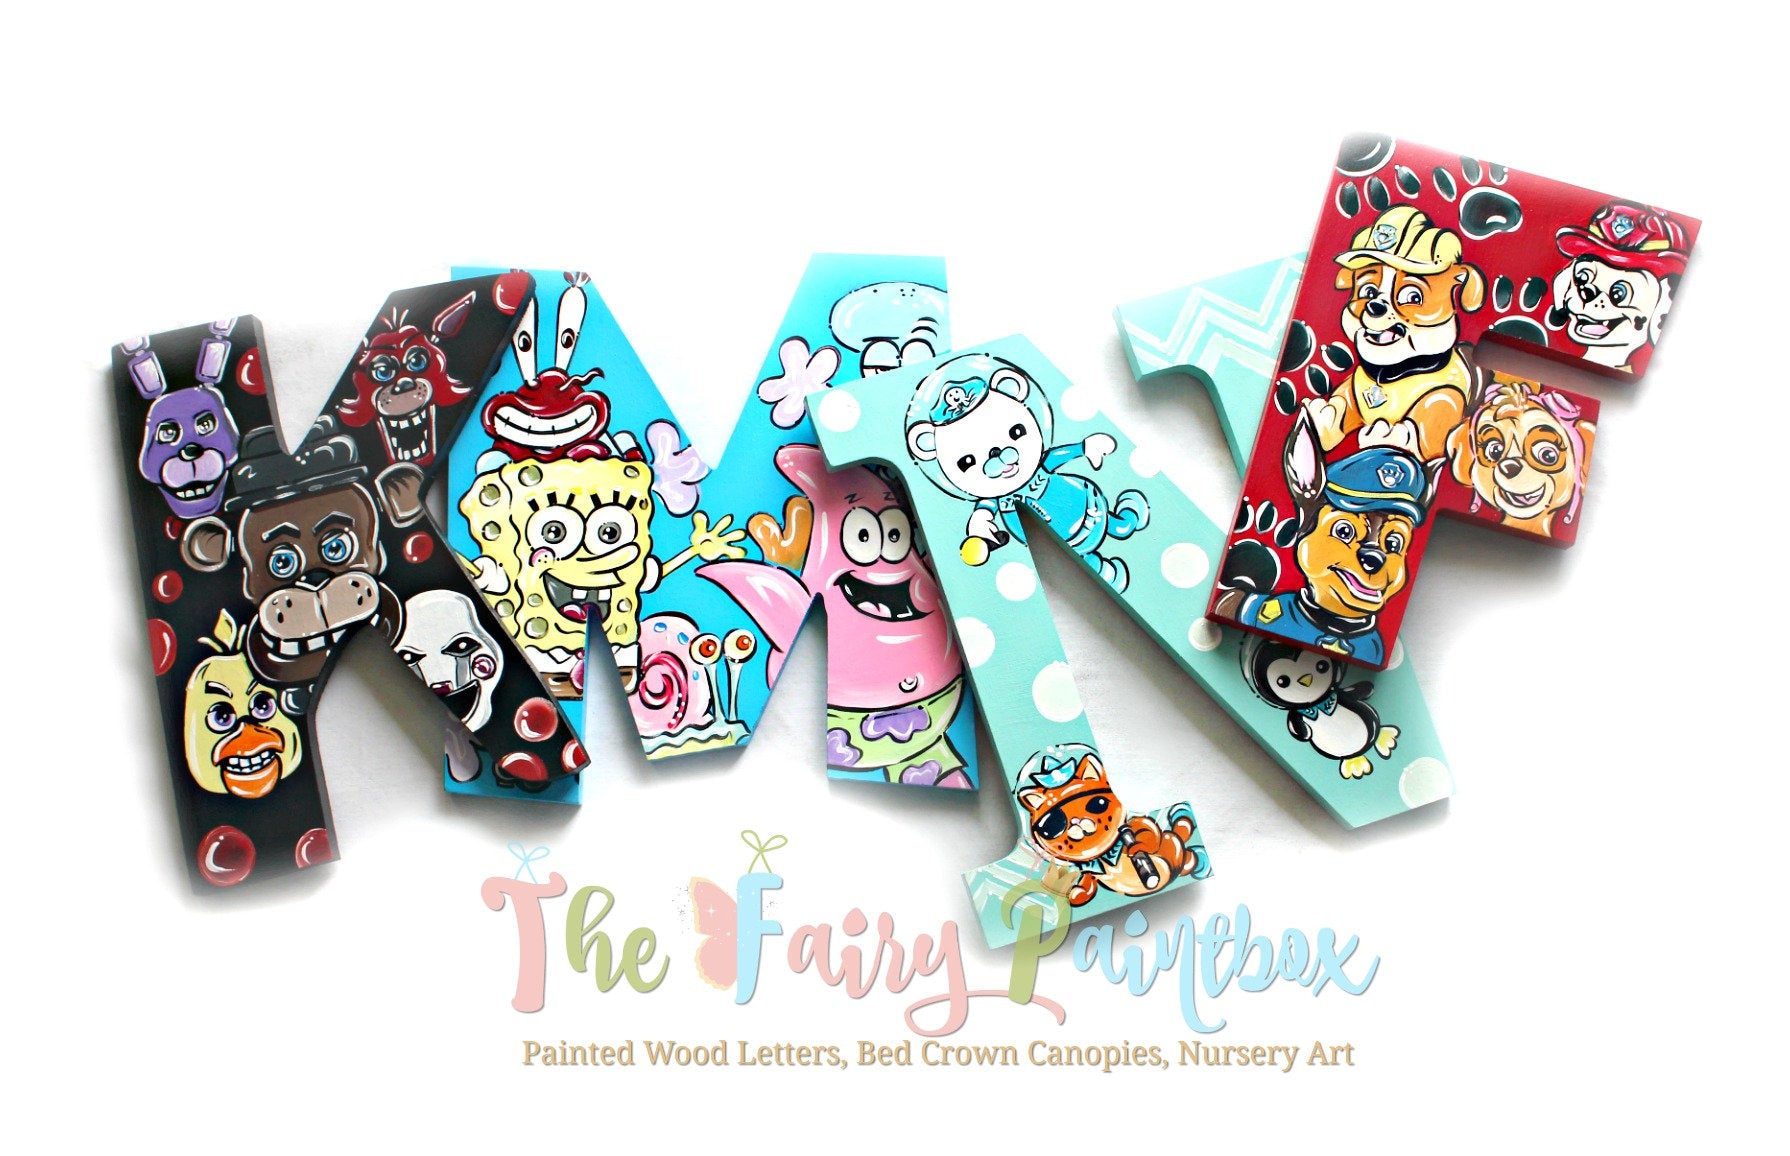
When you are happy with the finish, you can hang your letters on the wall. If you would rather start with ready-made pieces, you can browse painted wooden alphabet letter sets for nursery walls. Browse Hand Painted Wooden Letters - Custom Nursery Decor Letters - Personalized Painted Wooden Letters - Baby Room Letters - Kid Room Wall Letters to find a set that fits your nursery.
Frequently Asked Questions
What clear coat works best over acrylic paint on wood letters?
A clear, water-based acrylic sealer is the most common choice for acrylic-painted wood letters because it dries clear, stays flexible, and is compatible with the acrylic paint underneath. Brush on one thin coat, let it dry fully, then add a second thin coat rather than one heavy layer. Test any sealer on a scrap piece or the back of a letter first to confirm it does not lift, yellow, or cloud the color before you seal the front.
Do acrylic-painted nursery letters need a clear coat?
A clear coat is not strictly required, but it protects the paint from scuffs, dust, and fingerprints, which matter in a nursery where letters get touched and handled. A sealer also helps the color stay even and makes the letters easier to wipe clean. Letters displayed out of reach and rarely touched can go unsealed, though most parents find that a light protective coat is worth the extra step.
How long should acrylic paint dry before applying a clear coat?
Let acrylic paint dry fully before sealing, which usually means several hours for a thin coat and longer for thicker or heavily layered paint. Check the paint manufacturer's instructions for the recommended drying time, and make sure the surface feels dry to the touch with no tackiness. Sealing too early can cause the paint to smear, lift, or pull up when the sealer goes on.
How do you seal painted wood letters without smearing the paint?
Use a light hand, load the brush lightly, and brush in long, consistent strokes in one direction. Apply thin coats rather than one heavy layer, and avoid going back over areas that are already drying. Make sure the paint is fully dry before you start, and work in a well-ventilated room at a comfortable temperature so the sealer levels out evenly without bubbling or streaking.
