

Table of Contents
- Choosing the Right Paint for Wooden Letters
- Preparing Unfinished Wood Letters Before You Paint
- Painting Wooden Letters with Acrylic Paint
- How to Paint Letters on Wood with Stencils
- How to Paint Letters on Wood Without a Stencil
- Getting Smooth Coverage and Fixing Common Problems
- Pick Your Paint and Start Your Nursery Letters
- Frequently Asked Questions
What Paint Works Best on Wooden Letters: A How-To Guide
Last Updated: November 12, 2026
When you ask what paint works best on wooden letters, acrylic is the most practical answer for most projects, because it brushes on evenly, dries quickly, and takes detail well. The right paint depends on the finish you want, how you plan to apply it, and whether the letters will hang in a nursery or sit on a shelf.
Choosing the Right Paint for Wooden Letters
Deciding what paint works best on wooden letters depends on the look you want and how much control you need while painting. Most crafters choose between acrylic, latex, and spray paint.
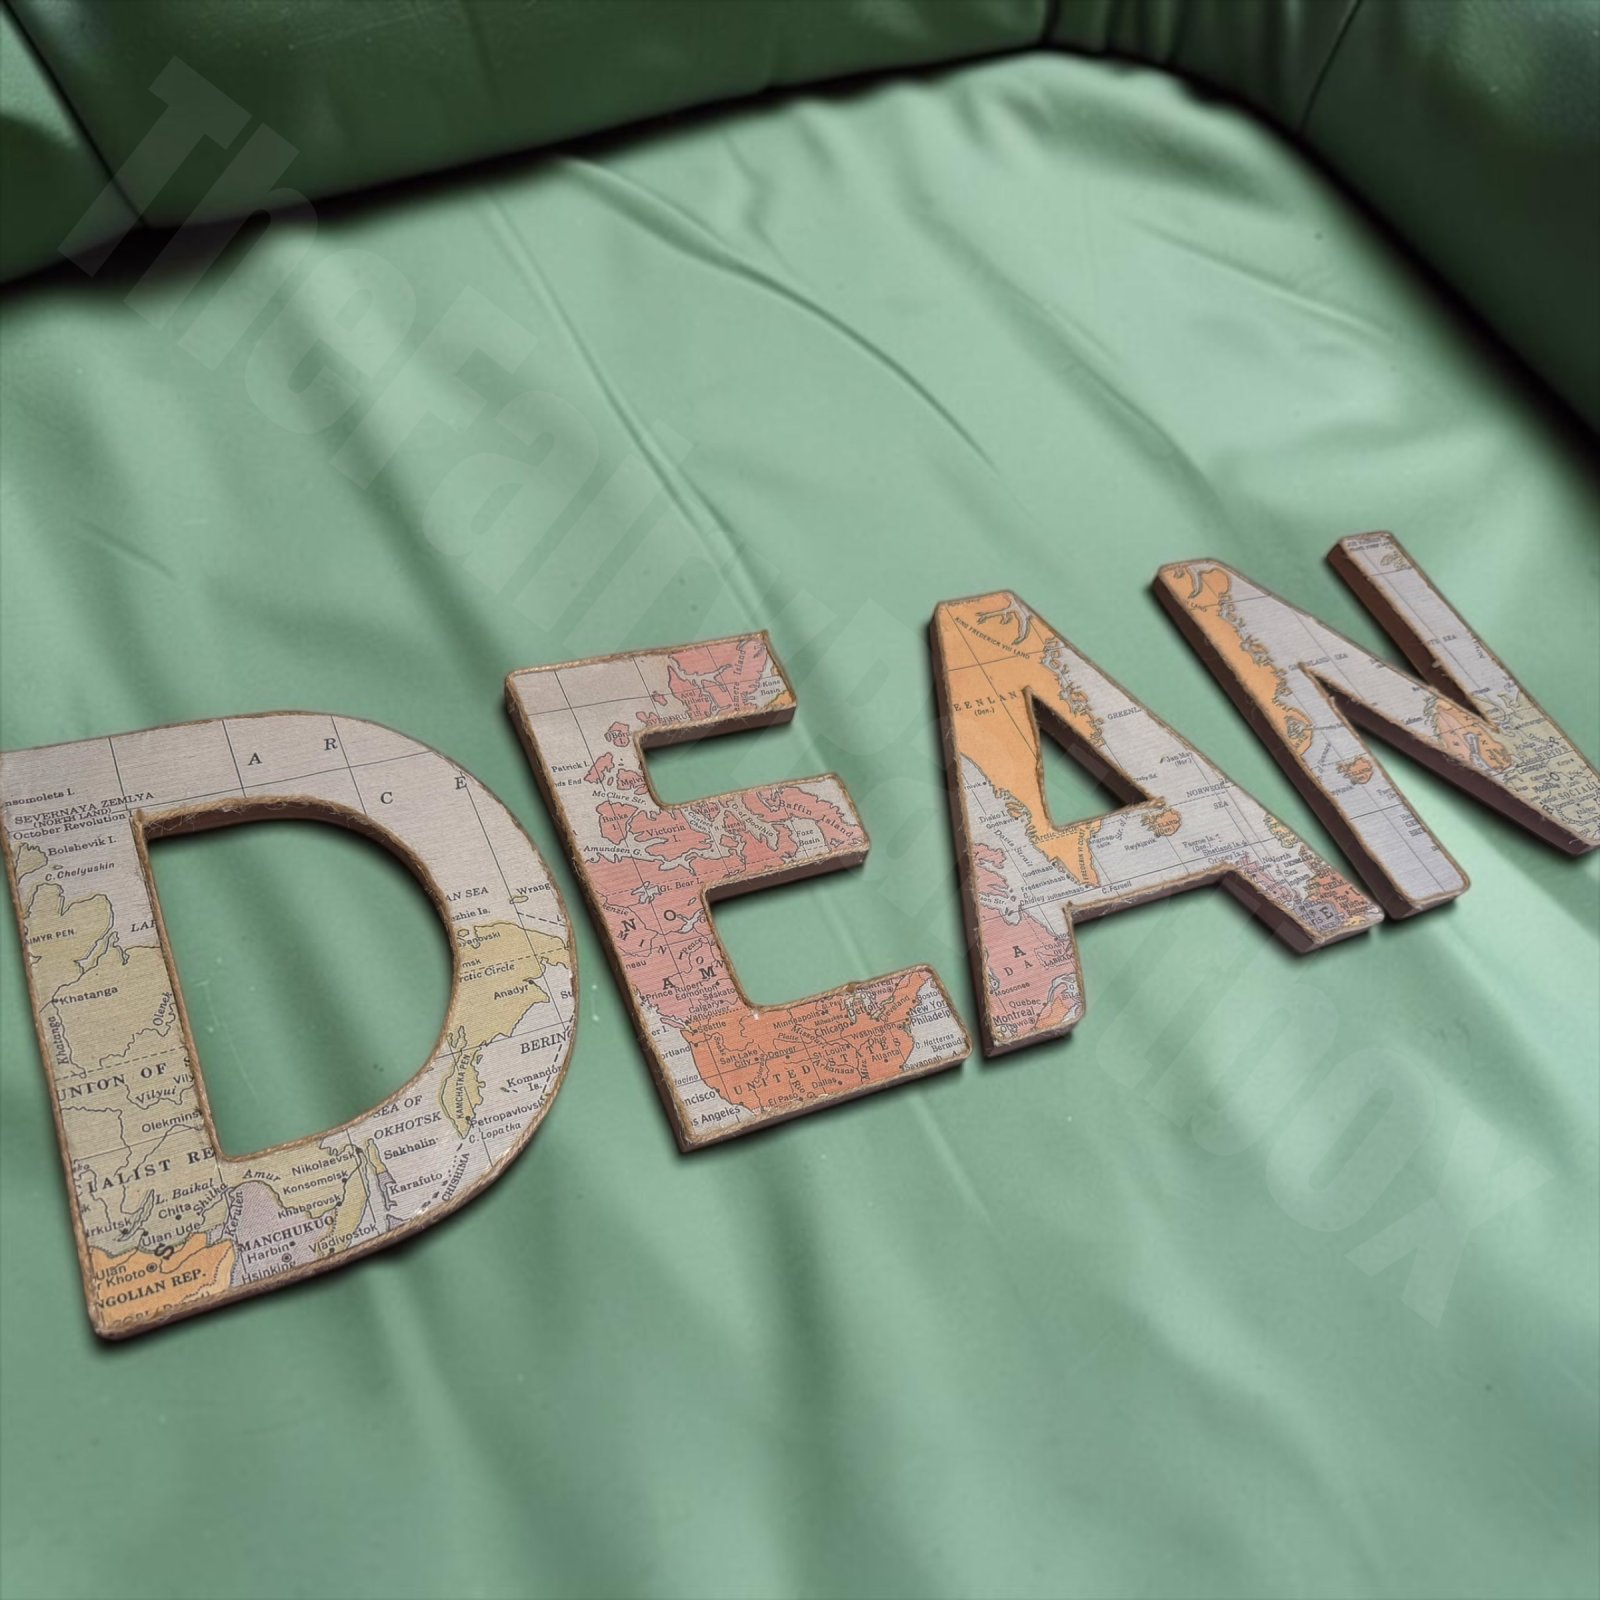
Acrylic paint versus latex paint
Acrylic paint is the usual first choice for painting letters by hand. It offers good brush control, many colors, and clean cleanup with water while wet. Latex paint is thicker and tends to cover in fewer coats, but it can leave visible brush marks on small letters with curved edges. If you would rather skip painting, see how finished preserved moss letters compare as a ready-made alternative.
Choose acrylic for detailed designs, multiple colors, or patterns such as polka dots. Choose latex if you want a single solid color and do not mind a more textured finish.
When spray paint makes sense
Spray paint gives the smoothest, most even coat with no brush strokes, which suits solid-color letters. It works well for larger pieces and for covering every edge quickly. It does need a ventilated space and a protected work surface, and it is harder to control on fine details. Spray paint is a good choice when you want a seamless look rather than a hand-painted one.
The table below sums up how the main paint types compare for wooden letters.
| Paint type | Best for | Key difference |
|---|---|---|
| Acrylic paint | Detailed designs, multiple colors, patterns | Good brush control, cleans up with water |
| Latex paint | A single solid color | Thicker, covers in fewer coats, may show brush marks |
| Spray paint | Larger pieces, seamless solid color | Smoothest coat, needs ventilation, harder on fine details |
Preparing Unfinished Wood Letters Before You Paint
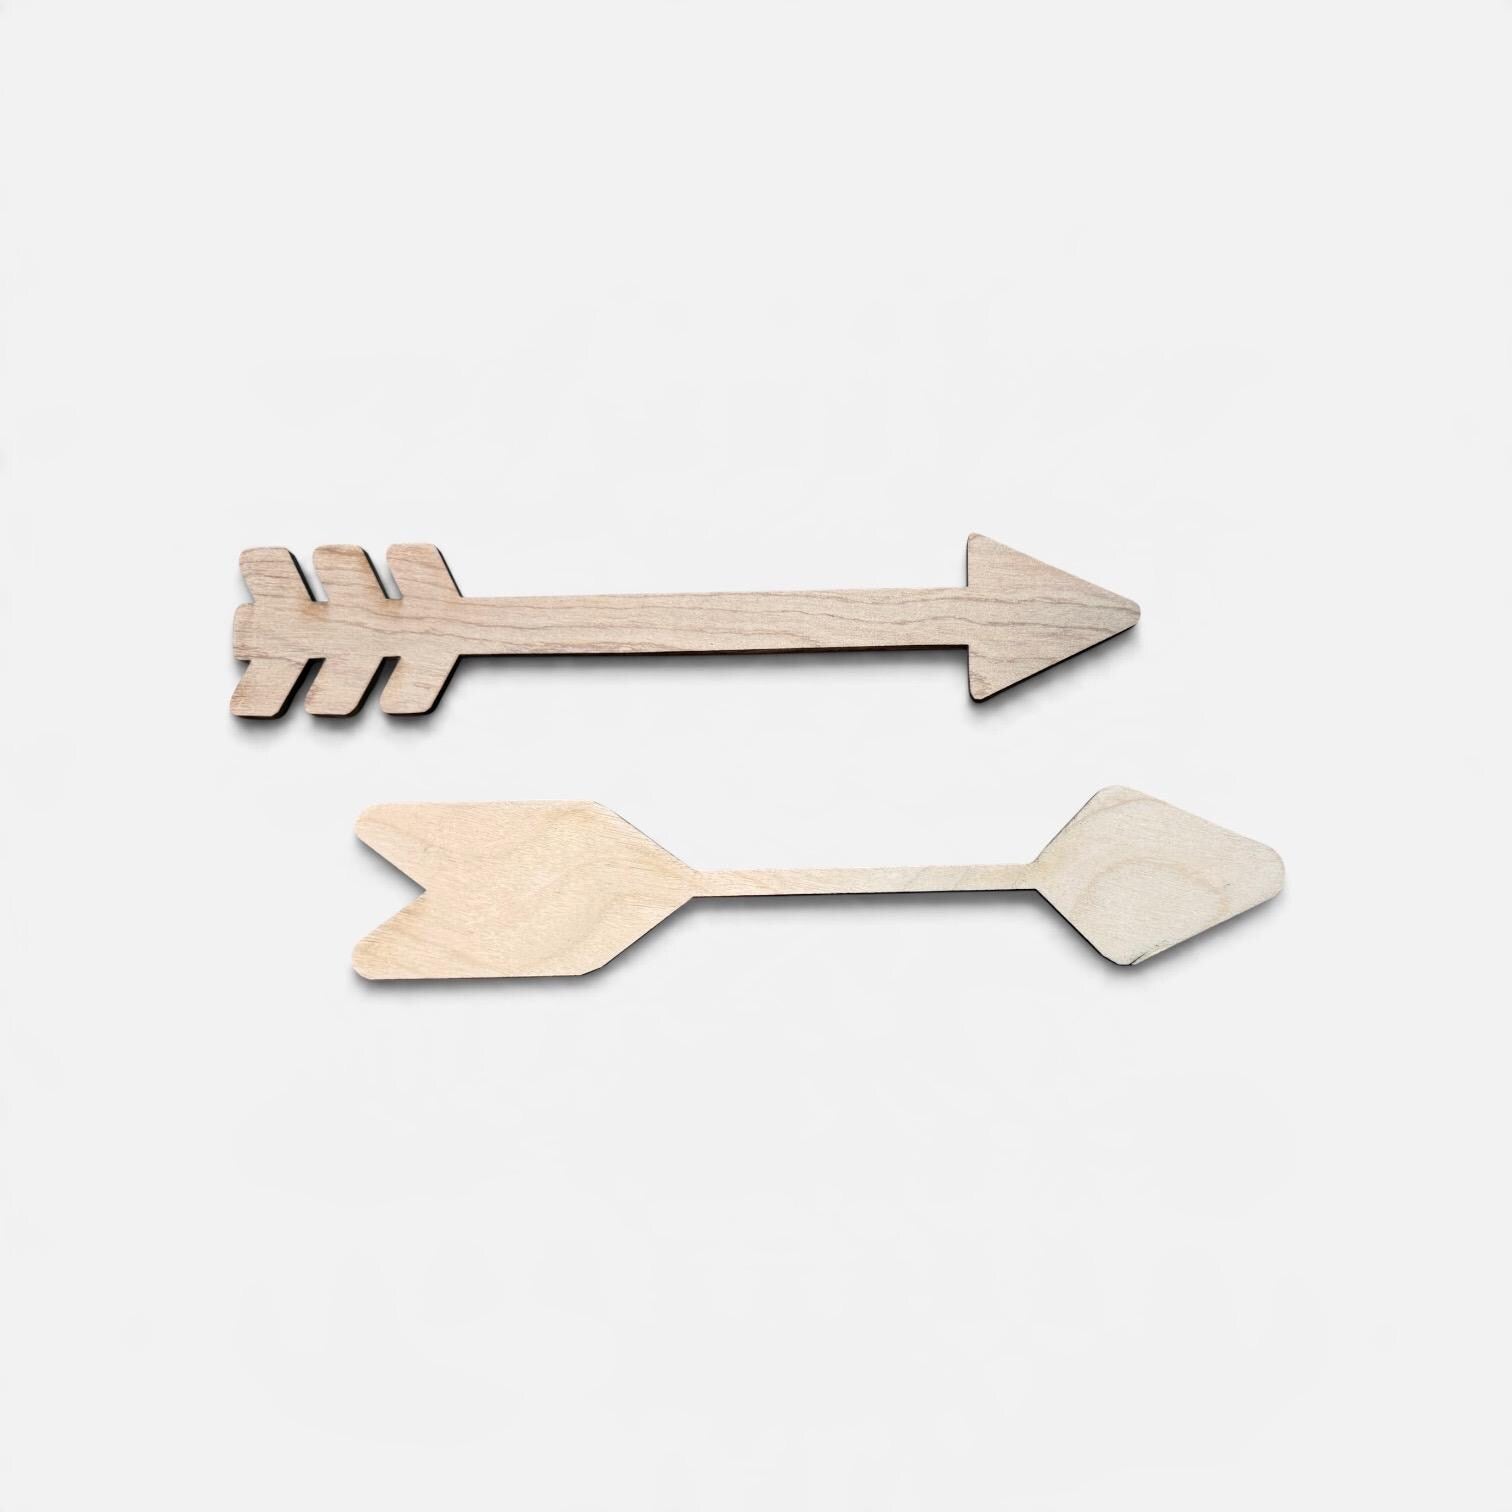
Preparation is where most paint jobs succeed or fail. The right prep depends on the wood type and condition of your letters. Raw Baltic birch, common for craft letters, has a tight grain and smooth surface, but it still benefits from a light scuff sanding with 220-grit paper to open the pores for better adhesion. View an unfinished wood craft shape to see what bare, unsealed wood looks like before you paint. MDF letters have porous, fuzzy edges that soak up paint unevenly; seal those edges with a thin coat of primer or a 50/50 mix of water and wood glue before painting. If your letters are already sealed or previously painted, sand them lightly to dull the finish, then wipe with a damp cloth to remove dust and grease.
Primer selection matters more than most guides admit. For raw wood, a water-based primer such as a stain-blocking acrylic primer prevents tannins from bleeding through light colors. For MDF, use a shellac-based primer on edges to stop swelling. For outdoor letters, an oil-based primer offers better moisture resistance. Always test primer on a scrap piece first. Watch out: skipping primer on dark wood or MDF can lead to blotchy coverage and require extra paint coats.
After sanding, remove all dust with a tack cloth or a lightly dampened lint-free cloth. Do not use a heavy wet rag on raw wood, as it can raise the grain. Let the surface dry completely before priming. Apply primer in a thin, even coat and let it dry per the manufacturer's instructions before sanding lightly with 320-grit. This step ensures your topcoat glides on smoothly and adheres for years.
Painting Wooden Letters with Acrylic Paint
Acrylic paint is the most forgiving option for hand-painted letters. Work in thin coats rather than one heavy layer, which keeps the edges crisp and reduces drips. Follow a step-by-step guide to painting wooden nursery letters if you want a full walkthrough before you begin.
!Close-up of hands holding a small paintbrush and carefully filling an unfinished wooden letter with soft pastel acrylic paint on a clean craft table
Follow these steps:
- Lay the letters on a protected surface and set out your paint, a small brush, and water for cleaning.
- Apply a thin first coat, working from the centre outward.
- Let the coat dry fully before adding a second layer. Thin coats dry faster and resist brush marks better.
- Paint the edges last, using short, controlled strokes.
- Seal the finished letters with a clear protective topcoat if they will be handled often.
How to Paint Letters on Wood with Stencils
Stencils give you crisp shapes and consistent lettering. Use painter's tape or a removable stencil and press it firmly onto the wood so paint cannot seep underneath. Dab the paint on with a stencil brush rather than sweeping it, which keeps the edges sharp. Remove the stencil while the paint is still slightly tacky, and let the letter dry before handling it.
How to Paint Letters on Wood Without a Stencil
Freehand lettering suits a relaxed, handmade look. Pencil the letter lightly onto the wood first, then fill it in with acrylic paint. Use a small round brush for curves and a flat brush for straight strokes. Freehand work takes practice, so start with a simple font and build up from there.
Getting Smooth Coverage and Fixing Common Problems
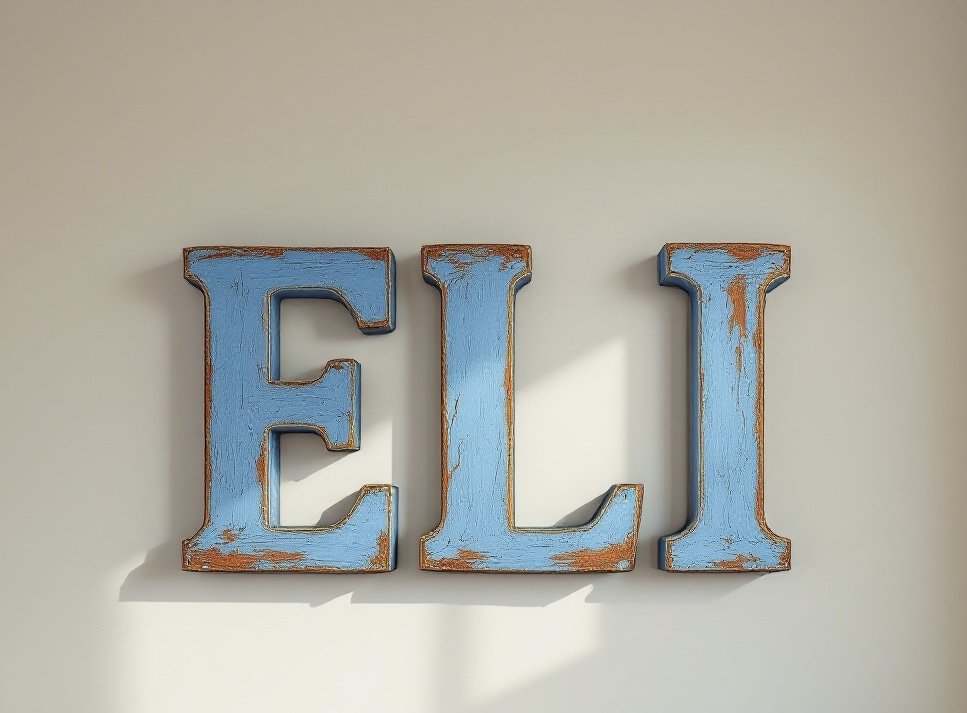
Even experienced painters run into trouble, but most problems have simple fixes. Brush marks appear when paint is too thick or your brush is stiff; thin the paint slightly with water (for acrylic) and use a soft synthetic brush, loading it lightly and painting in one direction. Drips happen when you overload the brush; dip only the bristle tips and wipe off excess on the rim of the container. If a drip forms, remove it immediately with a dry brush while wet, or let it dry and sand it smooth before recoating.
Uneven coverage often means you are stretching the paint too far. Apply two thin coats rather than one thick one, and let each coat dry fully. Raised wood grain occurs when water-based paint swells the wood fibers; after the first coat dries, sand lightly with 320-grit, wipe away dust, and apply the next coat. Paint bleeding under stencils or tape is caused by paint seeping under edges; press tape firmly and seal the edge with a thin coat of clear medium before painting the color.
Peeling usually stems from poor adhesion due to dust, grease, or a glossy surface. Always clean and sand before painting, and use a primer designed for the surface. For outdoor letters, choose a paint labeled for exterior use and apply a protective topcoat. Watch out: painting over a previously waxed or oiled surface without proper cleaning will almost guarantee peeling. Keep a small notebook of what worked for each project so you can repeat success.
Pick Your Paint and Start Your Nursery Letters
For most projects, acrylic paint gives the best balance of control, color choice, and finish. Use spray paint for a seamless solid color, and latex if you prefer a thicker coat. Once your letters are finished, learn how to hang a nursery sign safely and securely. Whichever you choose, prepare the wood, work in thin coats, and seal the finished letters for longevity. Find out whether painted nursery signs hold up over time if wear is a concern.
If you would rather skip the painting, our painted nursery letters guide shows how finished pieces compare with painting your own, and our nursery wall letters collection offers ready-to-hang designs. Start with a simple test piece, and you will know quickly which paint suits your letters best.
Frequently Asked Questions
What is the best type of paint to use on wood letters?
Acrylic paint is the most practical choice for wooden letters. It is water-based, dries quickly, cleans up with soap and water, and takes a wide range of colors cleanly. Latex paint also works well on wood and cleans up easily, although it can be a little less precise with fine edges. Spray paint gives the smoothest, most even finish with no brush marks, but it needs good ventilation and a sheltered space. For most painted wood letters, acrylic gives the best balance of control, color choice, and durability, especially when you finish with a clear sealer.
Should I prime wooden letters before painting them?
Priming is worth doing on unfinished wood, especially if you want a bright or dark color that needs to cover well. A thin coat of primer seals the grain so the paint goes on more evenly and doesn't soak in unevenly. Always let the primer dry fully before adding color.
Can I paint acrylic paint straight onto wood?
Yes. Acrylic paint adheres well to unfinished wood without any special preparation. Wipe the letters clean to remove dust, and if the surface feels rough, lightly sand it first. Apply thin coats rather than one thick layer, which tends to crack or pool. Once the paint is dry, a clear protective topcoat will help the finish hold up to handling and dusting.
Can you use spray paint on wooden letters?
Spray paint can produce a very smooth, even finish on wooden letters, which is useful for larger letters or a solid color with no brush marks. Work outdoors or in a well-ventilated area, hold the can about the same distance from the surface throughout, and apply several light coats instead of one heavy one. Spray paint is less forgiving of drips and can be harder to control on small details, so brush-applied acrylic is often the better choice for nursery letters with fine edges.
