

Last Updated: November 13, 2026
Quick Summary
To create a gallery wall with wooden craft shapes, plan the layout first with paper cutouts traced from each shape, then test it on the wall with painter's tape. Keep the arrangement roughly eye level, measure gaps between silhouettes rather than centers, and hang the largest piece first.
- Mark the wall zone with painter's tape, keeping the lowest piece 8 to 12 inches above nearby furniture.
- Trace each wooden shape onto paper and cut out the outline to create a mockup.
- Keep gaps between silhouettes about a thumb's width, and no more than twice that.
- Paint or stain shapes, add a clear sealer, and let each coat dry fully before handling.
- Use adhesive strips for painted drywall and small nails or hooks for wallpaper or plaster.
Table of Contents
- What You Need to Build a Gallery Wall With Wooden Craft Shapes
- Planning a Gallery Wall Layout Before You Hang Anything
- Choosing a Gallery Wall Template Generator or Paper Mockup
- Preparing, Painting and Sealing Wooden Craft Shapes
- How to Make a Gallery Wall With Different Frames and Wooden Shapes
- Eclectic Gallery Wall Ideas for Nurseries and Kids' Rooms
- Hanging Lightweight Wooden Shapes Securely and Planning Your Next Wall
- Frequently Asked Questions
What You Need to Build a Gallery Wall With Wooden Craft Shapes
A gallery wall made from wooden craft shapes is one of the simplest ways to add personality to a nursery. You do not need much to start.
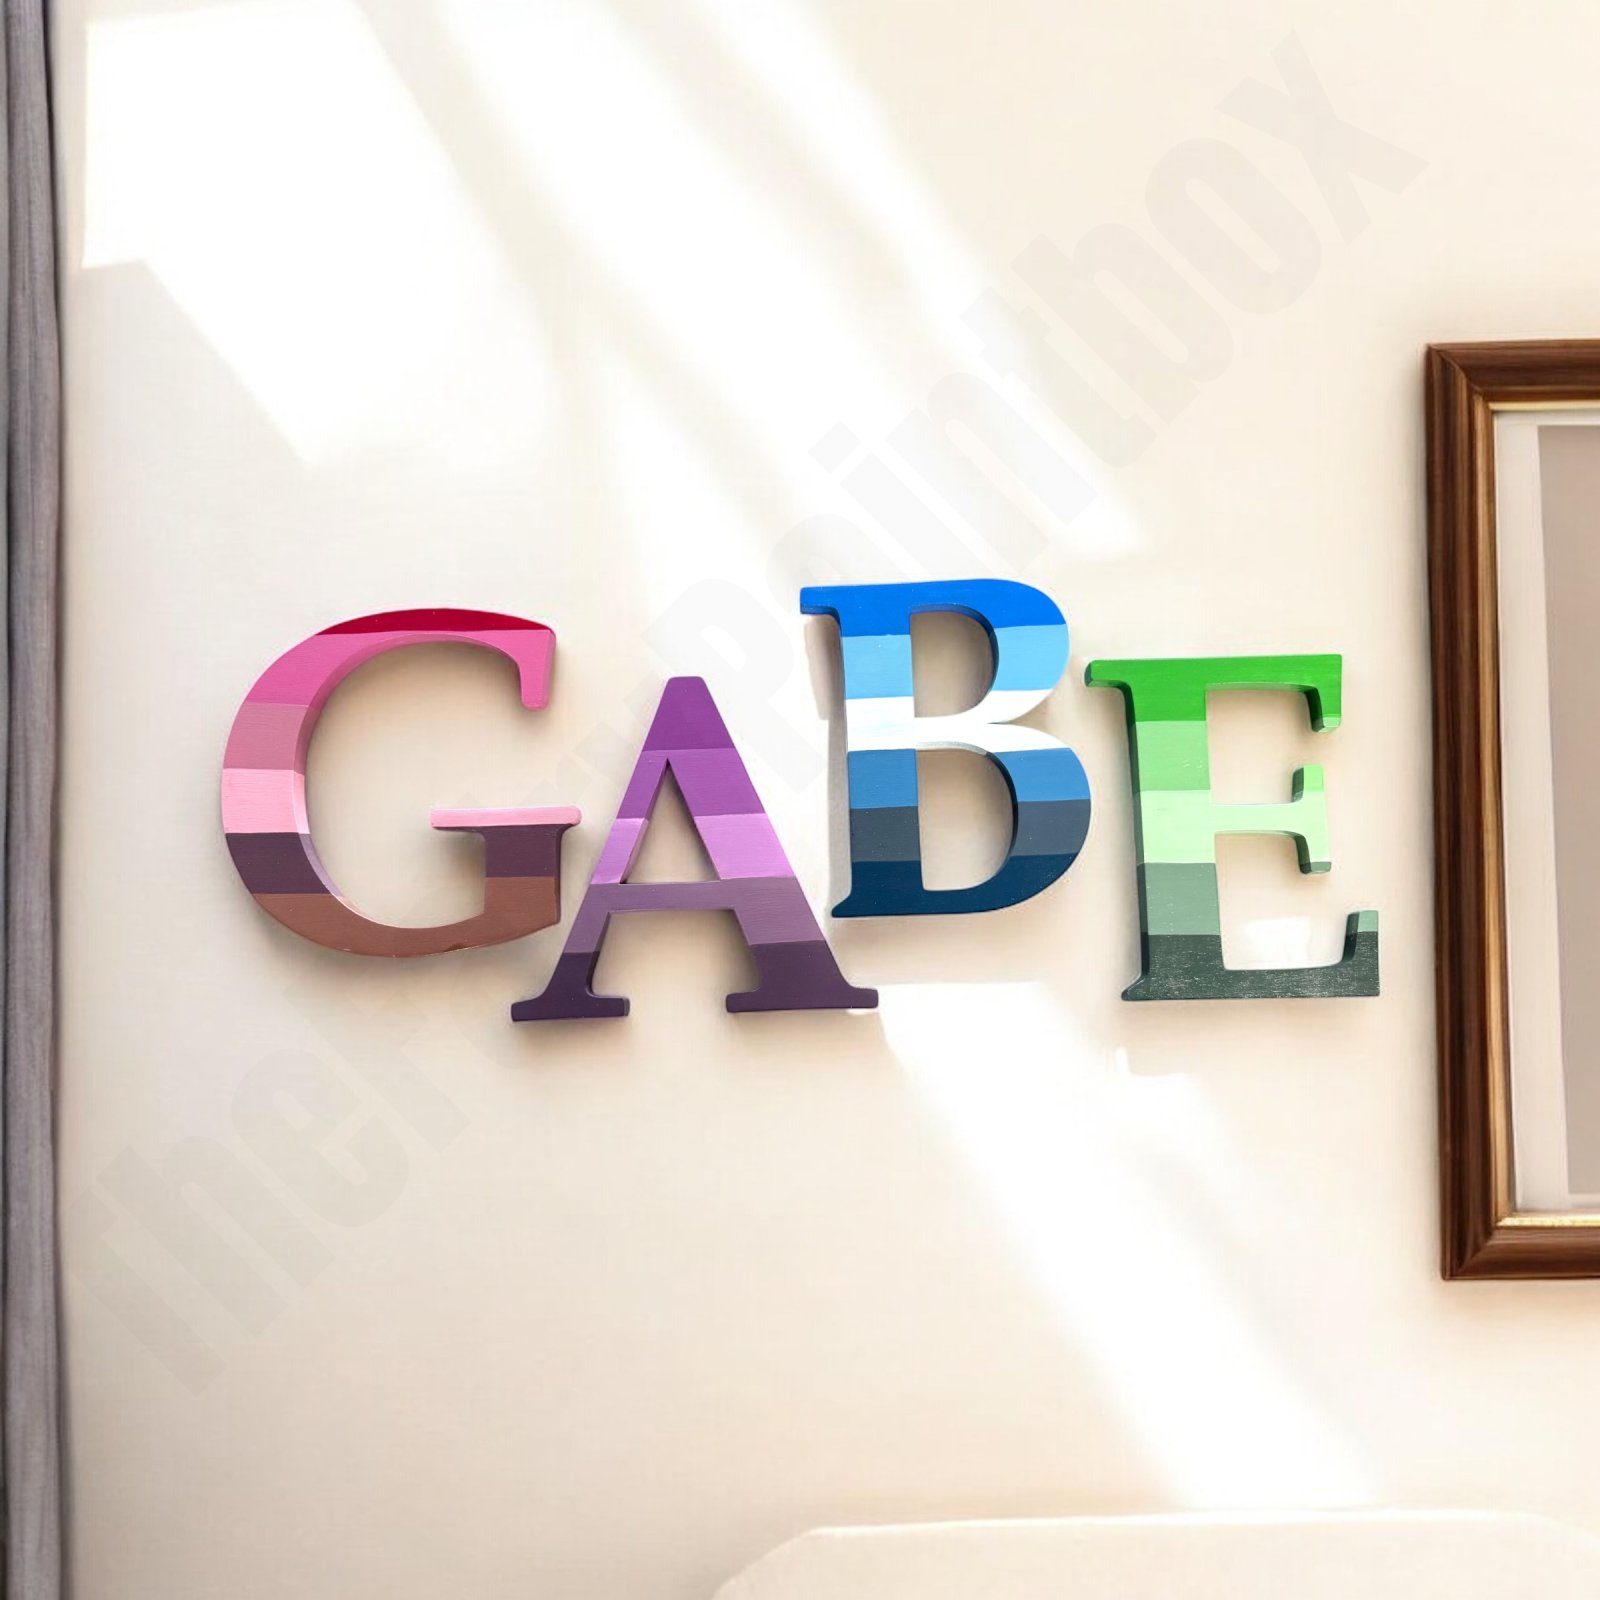
Wooden craft shapes come unfinished, and the natural wood can be painted, stained, or left as is. Our 3D Dragonfly Wooden Craft Kit - Set of 5 includes a mix of sizes in one set.
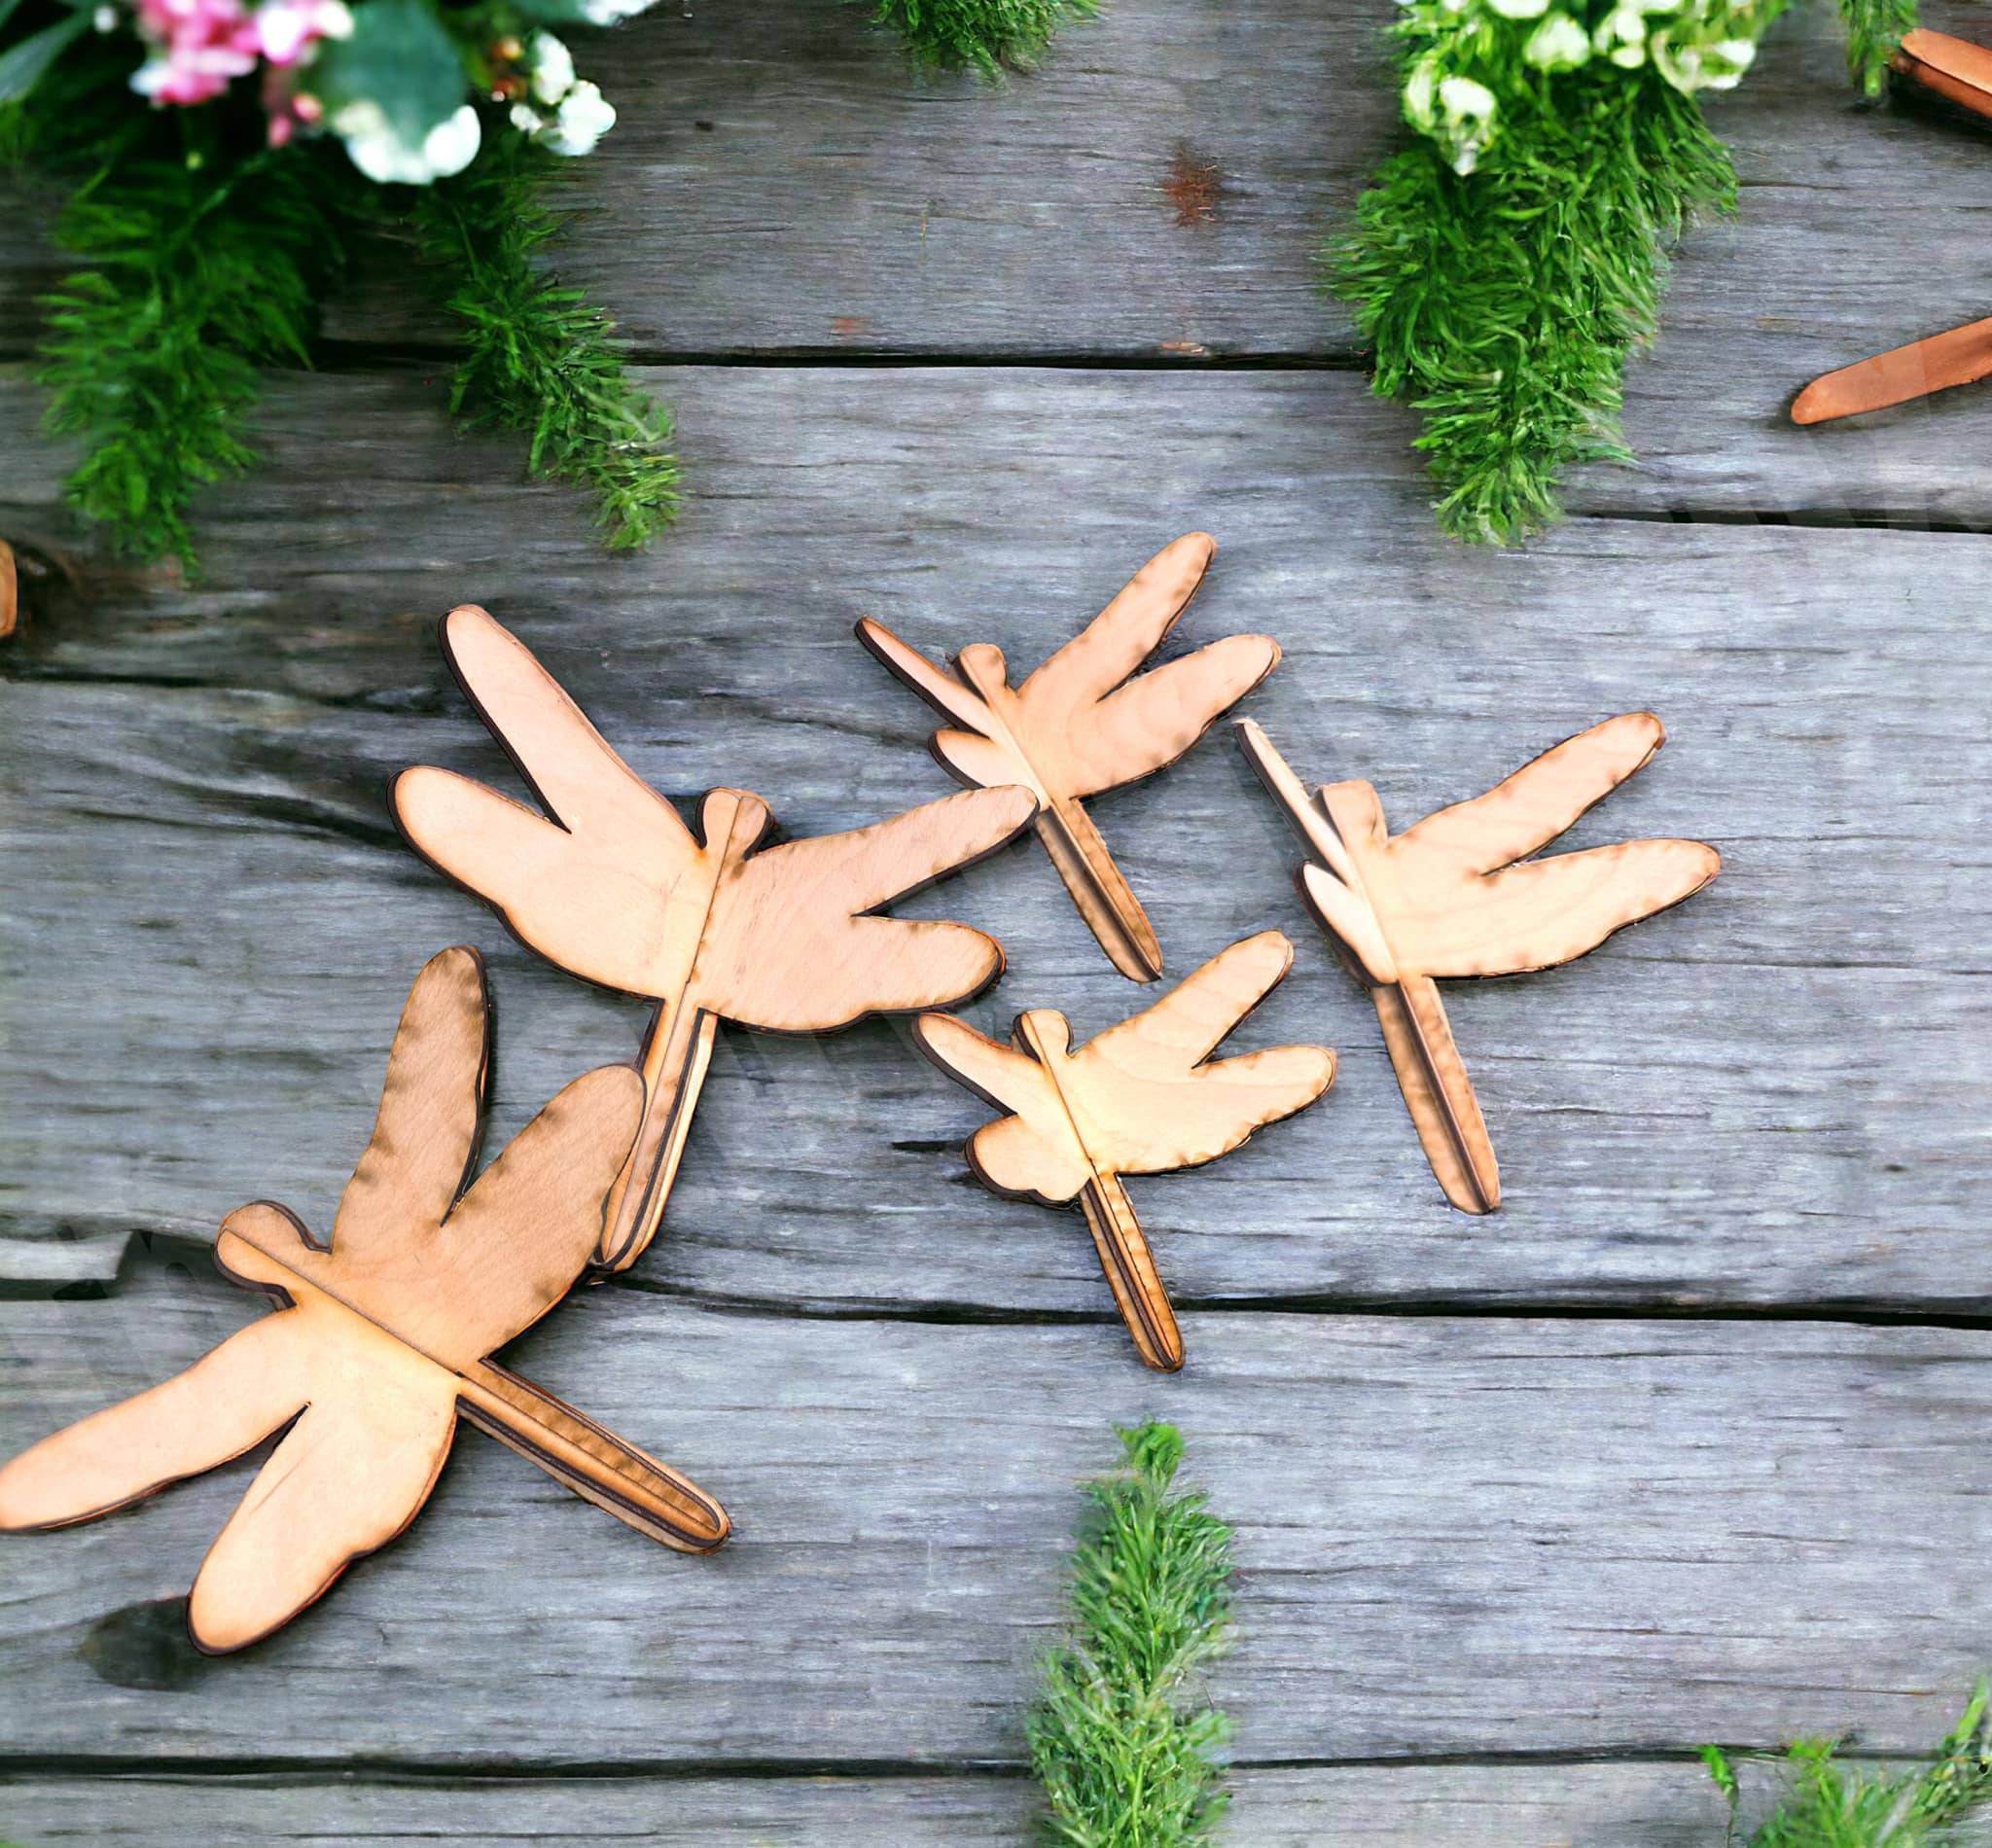
Gather these basics before you begin:
- Wooden craft shapes in two or three sizes
- Paint or stain and a small brush or sponge
- Clear sealer to protect the finish
- Painter's tape to mark where each piece will go
- Measuring tape and a pencil
- Lightweight hanging hardware such as adhesive strips or small nails
A level helps keep rows straight, and paper templates let you test a layout before you commit to holes in the wall.
Planning a Gallery Wall Layout Before You Hang Anything
Most gallery-wall guides assume every piece is a rectangle in a frame. Wooden craft shapes are not. A dragonfly has wings that stick out; a leaf has a stem; a 3D kit has layers that cast a shadow. That changes how you plan spacing, because the eye reads the silhouette, not the frame edge. The method below is built around that difference.
Step 1: Establish the wall's usable zone
Decide the display area before you place a single shape. A common pattern is to keep the arrangement centered on the wall at roughly eye level, with the bottom of the lowest piece sitting about 8 to 12 inches above the top of nearby furniture such as a crib, dresser, or changing table.
Measure the zone's width and height and write both numbers down. You will use them for the paper mockup in the next section.
Step 2: Trace each shape onto paper
Lay each wooden shape flat on a sheet of paper or cardstock and trace its outline with a pencil. Cut the tracing out. For 3D kits, trace the assembled silhouette rather than the flat pieces, so the mockup reflects the real footprint.
This step matters more for wooden shapes than for frames. A rectangular frame's footprint is obvious; a butterfly's is not, and a paper cutout lets you see the actual outline against the wall.
Step 3: Build the layout on the floor first
Arrange the paper cutouts on the floor inside a tape outline that matches your wall zone. Start with the largest shape near the center, then build outward with smaller pieces. For more general guidance on choosing and combining nursery art pieces, read Tips for Buying Nursery Art before you commit to a layout.
Watch out: if you place all the largest shapes on one side, the wall will look lopsided no matter how even the gaps are. Balance by visual weight, not by count.
Step 4: Set spacing around silhouettes, not frames
For framed art, a two- to three-inch gap between frames is standard. For wooden shapes, measure the gap between the closest points of two silhouettes, not between their centers.
A workable rule is to keep the narrowest gap at least as wide as your thumb, and to keep the widest gap no more than about twice that. Consistent gaps are what make an irregular arrangement read as intentional rather than scattered.
Step 5: Test the layout on the wall with tape
Tape the paper cutouts to the wall inside your marked zone. Step back to the doorway and look at the arrangement from the distance you will usually see it. Take a photo. Move one or two pieces and take another photo.
Leave the paper up for a day if you can. A layout that still feels right the next morning is usually the one to commit to.
Step 6: Mark hanging points before you remove the paper
Once the layout is settled, mark the hanging point on each paper cutout, the spot where the adhesive strip or hook will sit on the back of the wooden shape. Poke a pencil through that mark into the wall, or place a small piece of tape on the wall at that point. When you remove the paper, the marks tell you exactly where each piece goes, which is far more reliable than re-measuring by eye.
The article's key layout measurements and spacing rules are summarised below for quick reference.
| Layout element | Guideline | Note |
|---|---|---|
| Bottom of lowest piece | 8 to 12 inches above nearby furniture | Measured from furniture top such as a crib or dresser |
| Gap between silhouettes | About thumb width, at most twice that | Measure closest points, not centers |
| Layout test | Look from the doorway | Take photos to compare versions |
| Mockup timing | Leave paper up a day | A layout that still feels right is the one to commit to |
Choosing a Gallery Wall Template Generator or Paper Mockup
A paper mockup lets you test your layout without any tools on the wall. Cut paper shapes to the same size as your wooden pieces. Tape them to the wall and move them until the arrangement feels right.
Many people also use an online gallery wall template generator. These tools let you enter wall dimensions and piece sizes, then suggest a layout. Treat the output as a starting point.
Take a photo of each version. Comparing photos side by side makes it easier to spot the layout you like best.
Preparing, Painting and Sealing Wooden Craft Shapes
Unfinished wood takes paint and stain well, so preparation is quick. Wipe each shape with a dry cloth to remove any dust.
Follow these steps for a clean finish:
- Sand lightly if the edges feel rough.
- Apply a base coat of paint or stain and let it dry fully.
- Add a second coat for stronger color.
- Seal the shapes with a clear coat to protect them from marks.
Let each coat dry before you handle the shapes again. Rushing this step often leaves fingerprints in the finish.
How to Make a Gallery Wall With Different Frames and Wooden Shapes
Wooden shapes can sit alongside framed prints and other décor. Mixing them creates texture and depth.
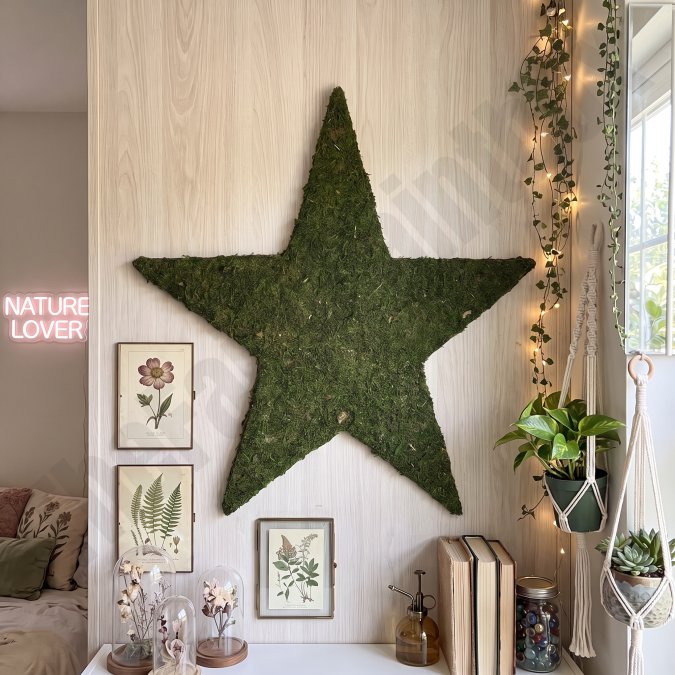
Keep the mix balanced. Choose one or two frame finishes that match the color of your wood shapes. For example, a natural wood frame pairs well with unfinished shapes, while a white frame suits painted pieces.
Place the framed pieces where they anchor the wall, then fill the gaps with the wooden shapes. A few framed prints can give the eye a place to rest between the more playful pieces.
Eclectic Gallery Wall Ideas for Nurseries and Kids' Rooms
An eclectic wall suits a nursery or a child's room because it can grow with them. Pick a simple theme, such as woodland animals, butterflies, or dragonflies, and let the shapes follow it.
The 3D Butterfly Wooden Craft Kit - Set of 5 is one option for a butterfly theme. The Autumn Tree Leaves Unfinished Wood Decor Craft Shape Set is another option for a leaf theme.
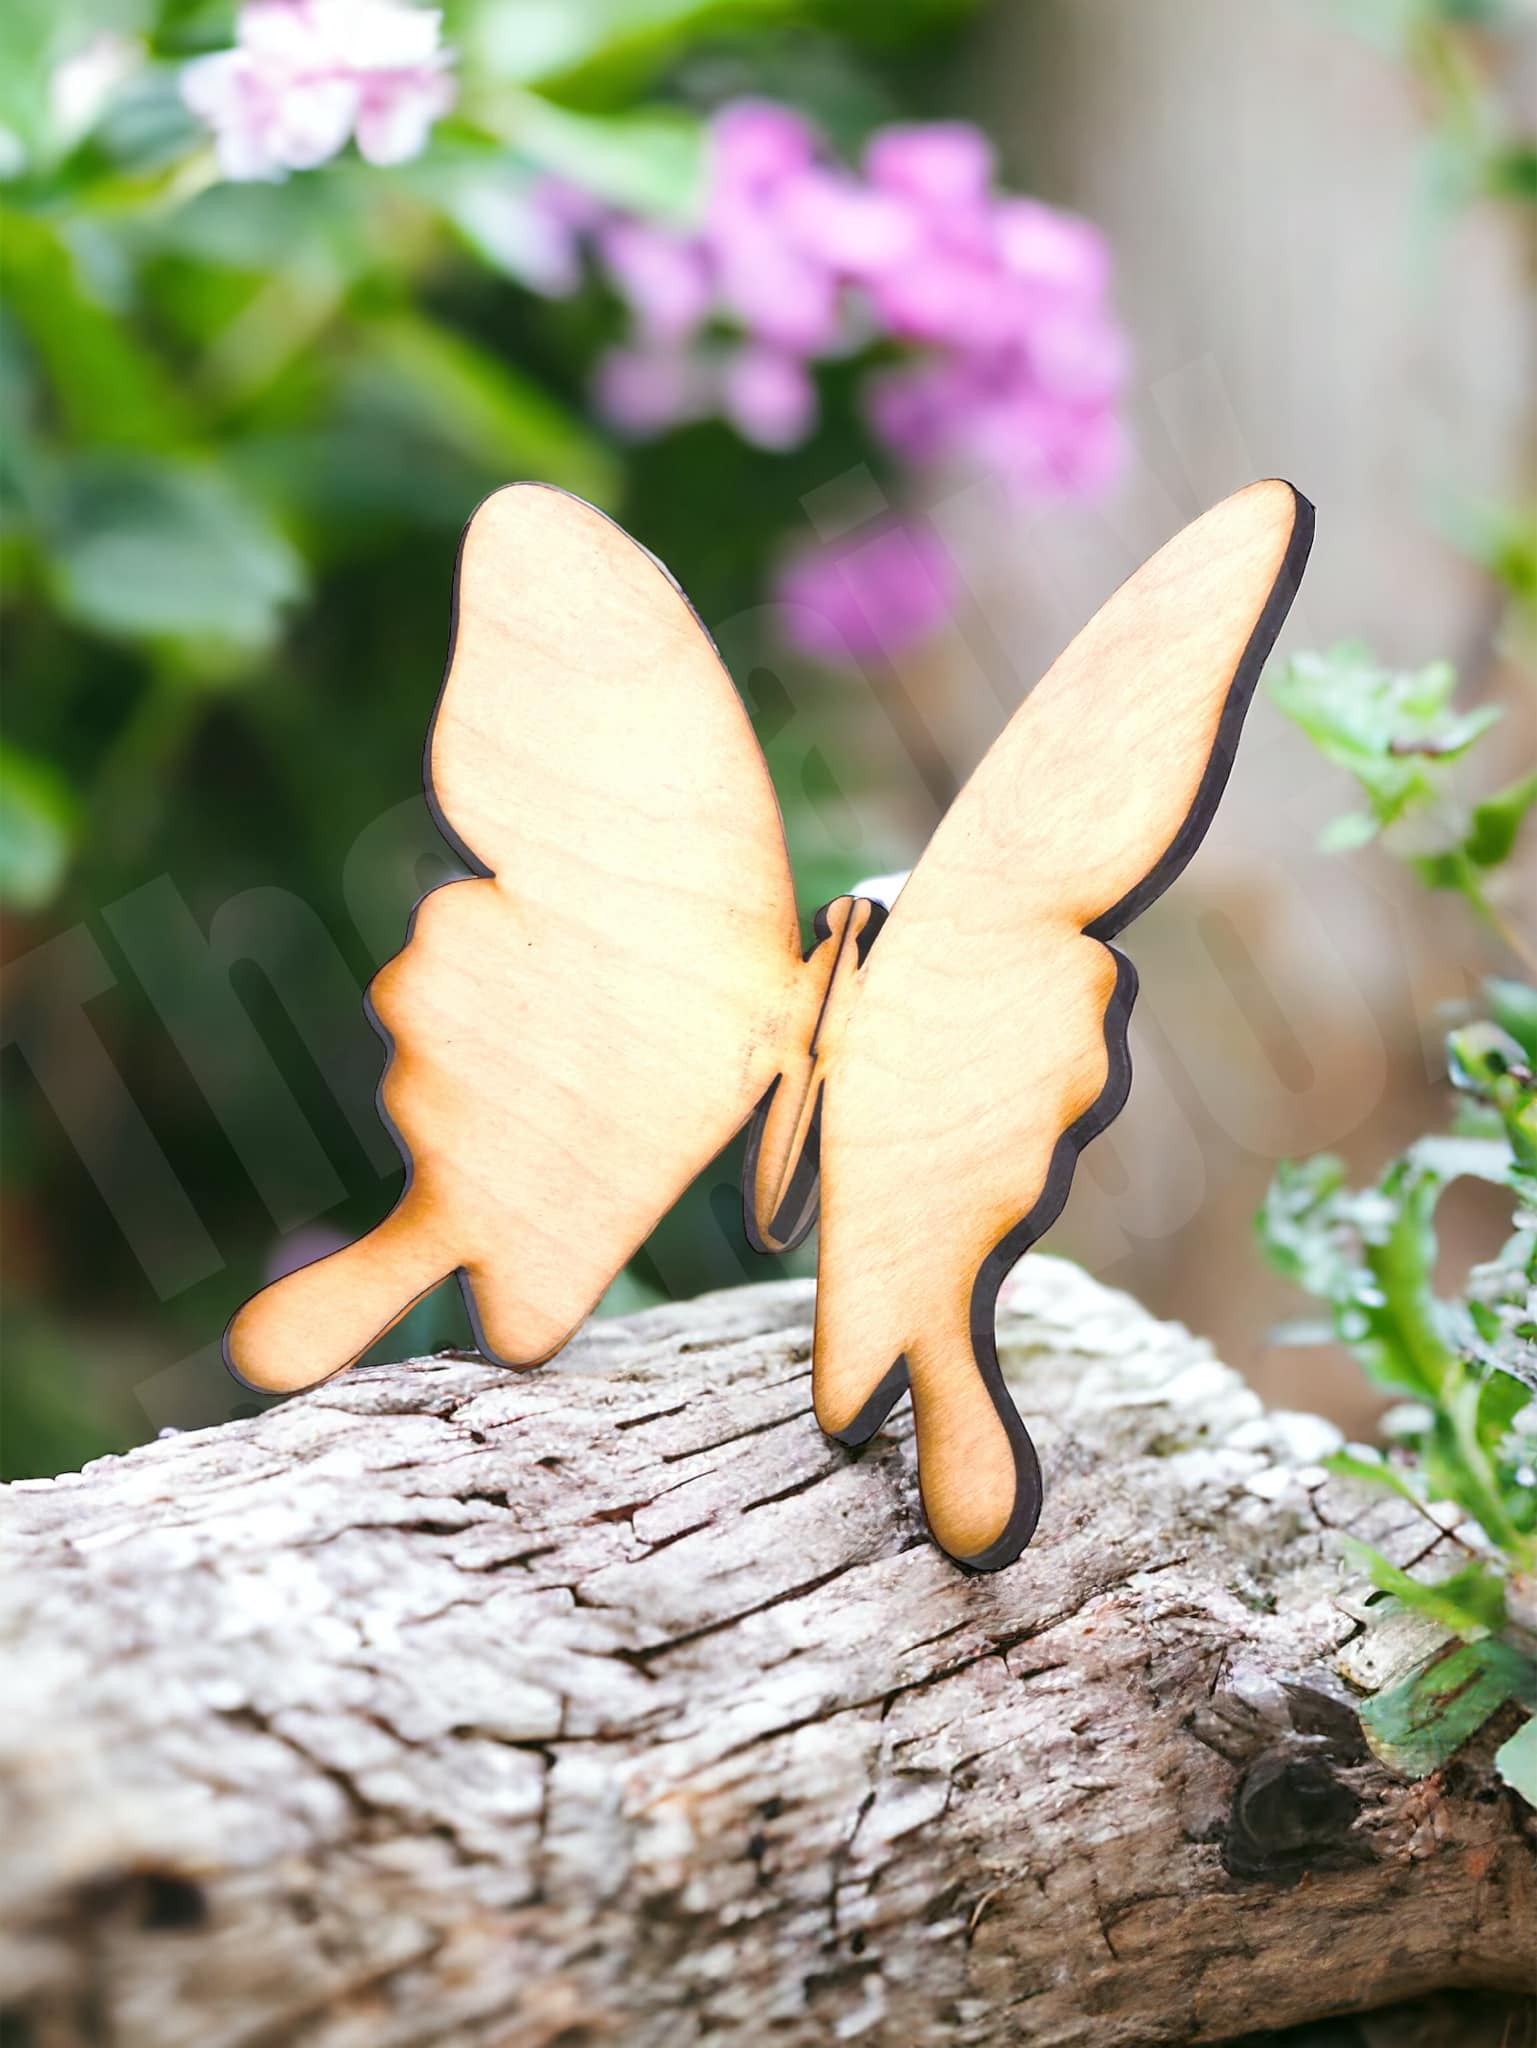
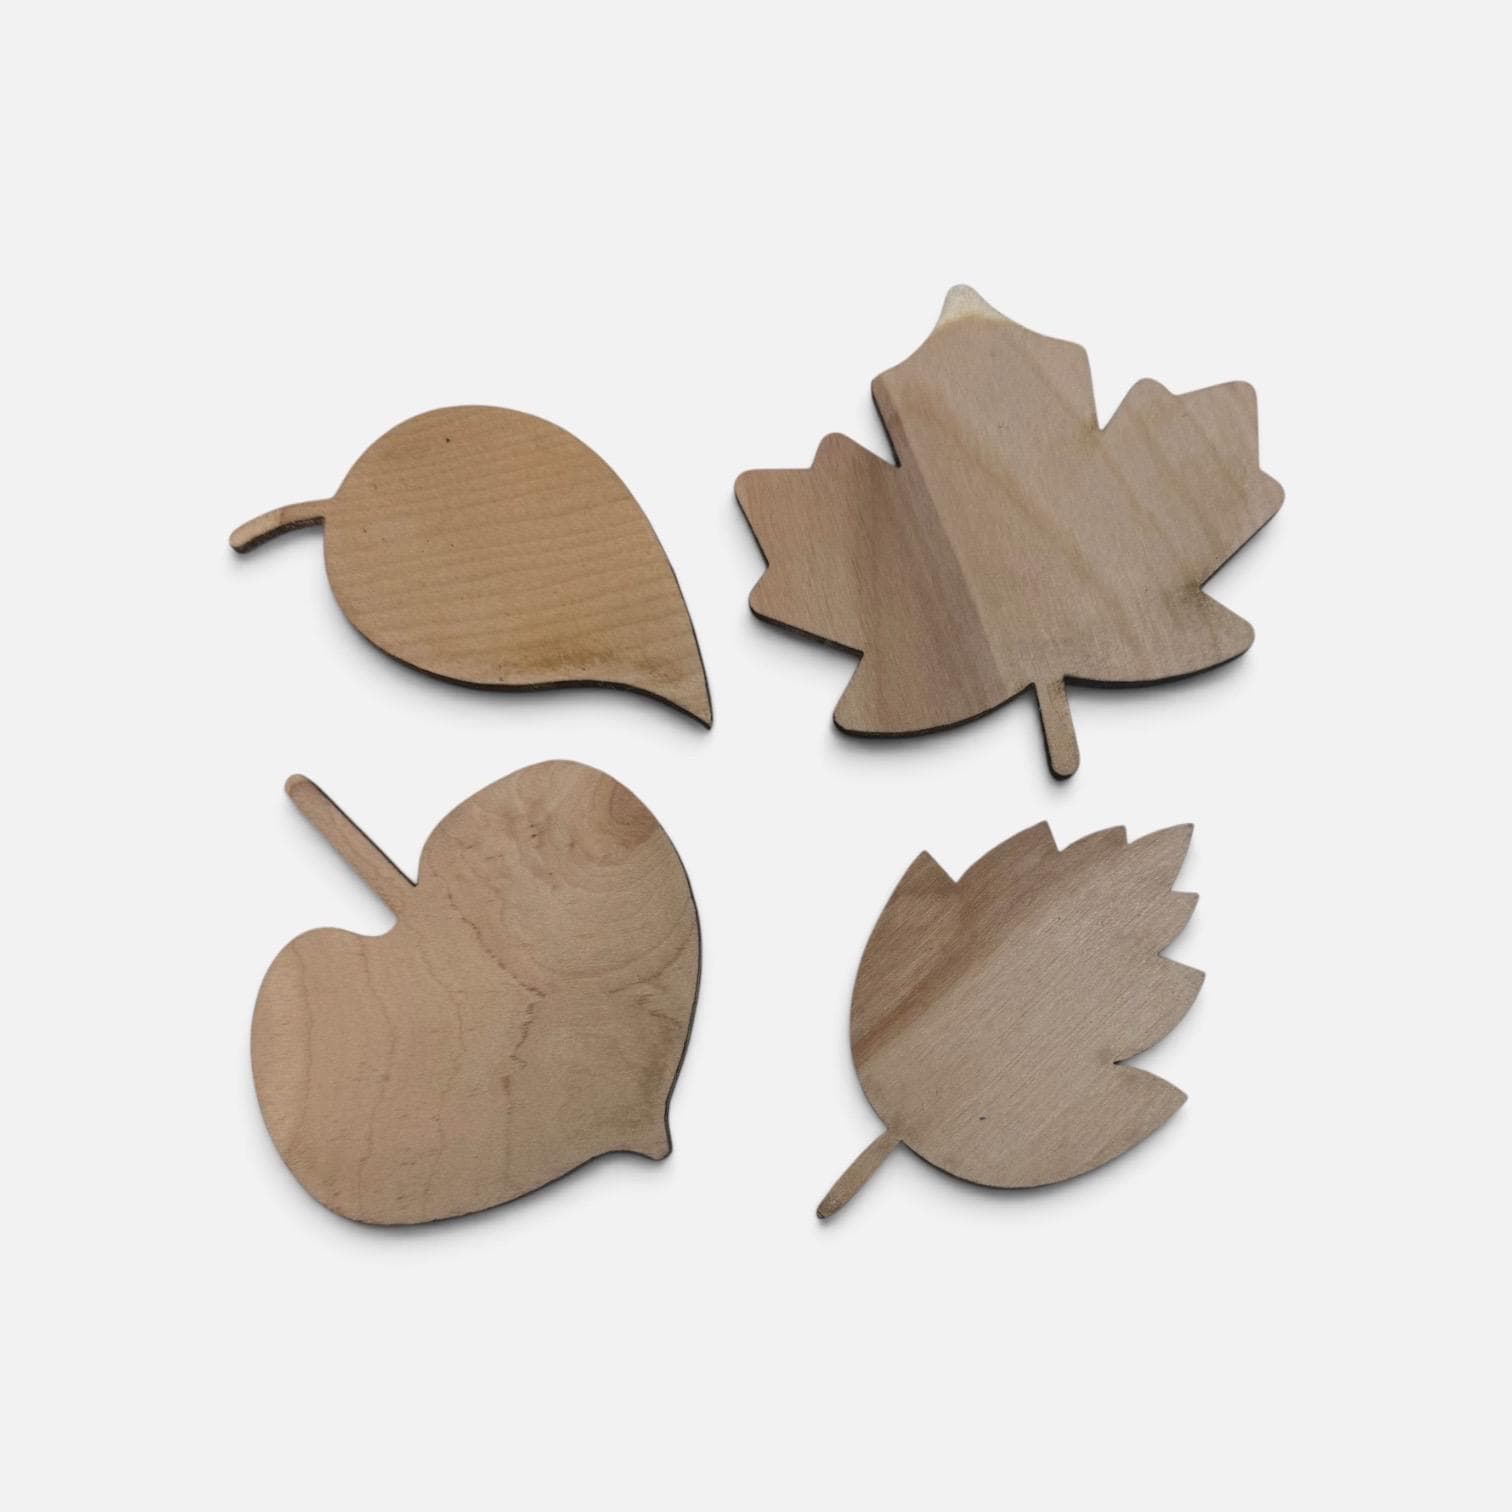
Leaving some pieces unpainted and painting others in soft colors is one way to vary the look of the wall.
Hanging Lightweight Wooden Shapes Securely and Planning Your Next Wall
Wooden craft shapes are light, but "light" is not the same as "safe to stick anywhere." Our guide on how to hang nursery signs safely and securely covers mounting methods in more depth. The right method depends on the wall surface, the shape's size, and whether it is flat or 3D. This section covers the mounting options in the order most people should consider them, then explains how to plan the next wall once this one is up.
Match the hardware to the wall surface
- Painted drywall: adhesive strips are usually the cleanest option for small and medium shapes. Clean the wall with a dry cloth first, press the strip firmly for several seconds, and let it set before hanging.
- Wallpaper or freshly painted walls: adhesive strips can pull the surface when removed. Use small nails or hooks instead, or wait until the paint has fully cured.
- Plaster or textured walls: adhesive strips often fail because they cannot get full contact. Small hooks or nails are more reliable.
- Wood paneling or trim: small screws or hooks work well, but predrill a pilot hole to avoid splitting the wood.
- Brick or stone: adhesive strips are unreliable; use masonry hooks or ask about appropriate anchors for the surface.
Choose a hanging method by shape type
Flat shapes (leaves, simple silhouettes) sit close to the wall and work well with adhesive strips or a single small nail through a hanging tab. 3D kits (dragonflies, butterflies with layered wings) stand off the wall and cast shadows, so they need a hook or nail that holds the piece at its balance point, not a strip that flattens it against the wall. Very small shapes can be grouped on a single strip of tape or a shared hook if they are close together.
A common pattern is to use adhesive strips for anything you might want to move later, and small nails or hooks for pieces you expect to keep in place. Nursery walls often get rearranged as a child grows, so strips are a reasonable default for the smaller pieces.
Hang in the right order
Hang the largest, heaviest piece first and check it with a level. Then add the pieces around it, working outward. Hanging the small pieces first makes it harder to adjust the anchor piece later without leaving extra holes.
After each piece is up, step back and check the gap to its neighbors against your paper mockup. Small adjustments are easier before the next piece goes on the wall.
Plan the next wall
Once the wall is finished, photograph it straight on and note the layout, which shape went where, and what hardware you used.
When you are ready for the next wall, you can explore more nursery décor in our main shop.
Painted wood letters makes handcrafted nursery wall art and custom wooden pieces to help you build a space you love. Browse our collection to find the shapes that suit your room.
Frequently Asked Questions
How do you arrange wooden craft shapes into a gallery wall?
Start with the largest piece and place it near eye level as the focal point. Arrange the smaller shapes around it, keeping consistent gaps between pieces. Lay everything out on the floor or on paper templates first, photograph the arrangement, and adjust until the balance feels right before you mark any wall points. Irregular or three-dimensional shapes often look best when grouped in clusters rather than spread in a straight line.
How can you mix wooden shapes with framed pictures?
Use the wooden shapes as connectors between framed pieces. Keep a shared color palette, such as natural wood tones with black or white frames, so the wall reads as one composition. Place the framed pictures in a loose grid and fill the gaps with the shapes. Repeating one or two shape styles across the wall helps the mix look intentional rather than random.
How do you create a gender-neutral nursery gallery wall with wooden shapes?
Choose a neutral palette of natural wood, soft greens, warm grey or cream, and avoid strongly gendered colors. Pick animal, nature or celestial shapes such as leaves, arrows or dragonflies, which suit any child. Keep the layout balanced and the spacing generous so the display feels calm and grows with the child.
Which wall anchors work best for hanging lightweight wooden shapes?
Lightweight wooden craft shapes usually hang well on adhesive strips, small hooks or picture hanging nails, depending on the wall surface. Test one piece first, since adhesive can damage some paints. For heavier or irregular shapes, use a secure hanging hardware option and check that each piece sits flat against the wall before you finish.
